
Configure Page SEO
In this section, we’ll walk you through the process of optimising your page for search engines. Enhance your online presence by customising SEO settings tailored to your needs.
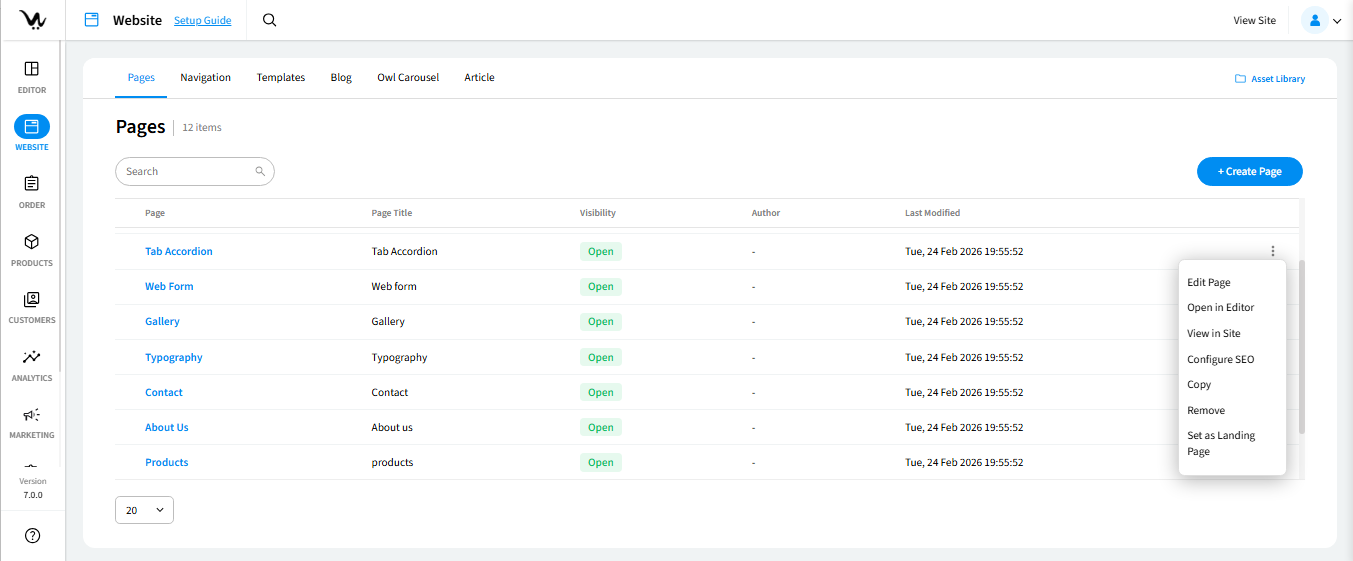
Access SEO Settings
- From the page list, click on the kebab icon beside a page.
- Select “Configure SEO” to open the “Add SEO Content.”
Step 1 | SEO Configuration
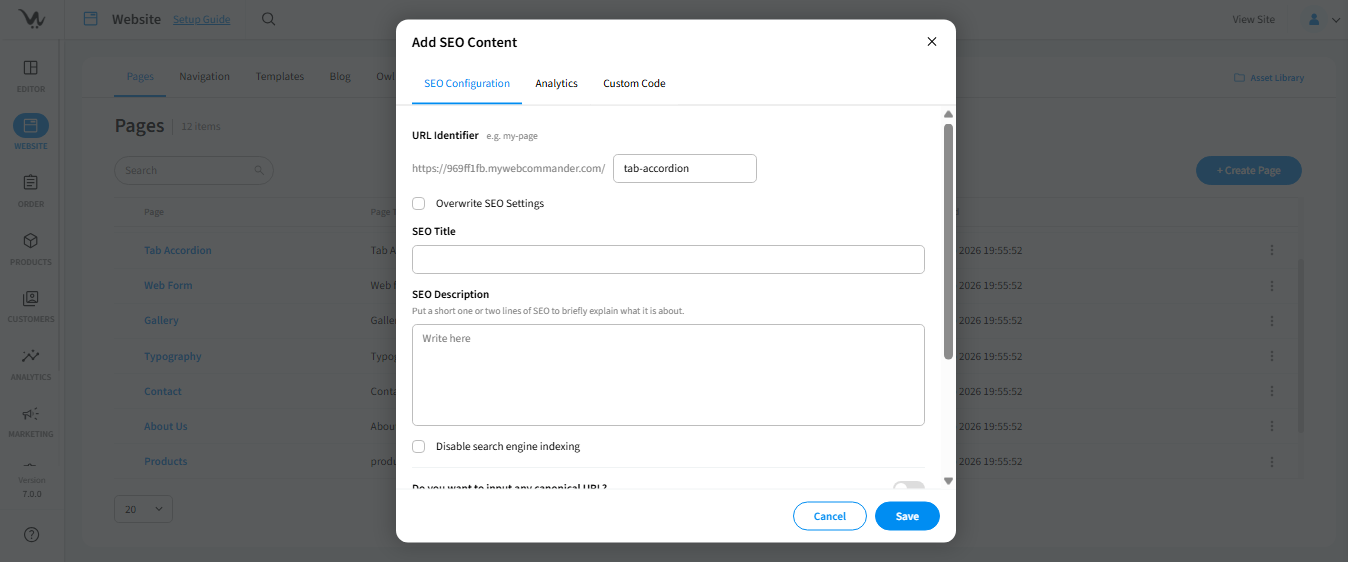
SEO Settings:
- URL Identifier: Customise the part that appears in the web address.
- Overwrite SEO Settings: Check for full control over SEO settings.
SEO Title:
- Create a unique and appealing title for better search engine results.
SEO Description:
- Provide a brief, enticing description for improved search visibility.
Disable Search Engine Indexing:
- Prevent search engines from indexing the SEO Description by checking this box.
Canonical URL:
- Toggle to input multiple canonical URLs for managing duplicate content.
Additional Meta Info:
- Toggle to input multiple meta names and values, enhancing metadata.
Step 2 | Analytics
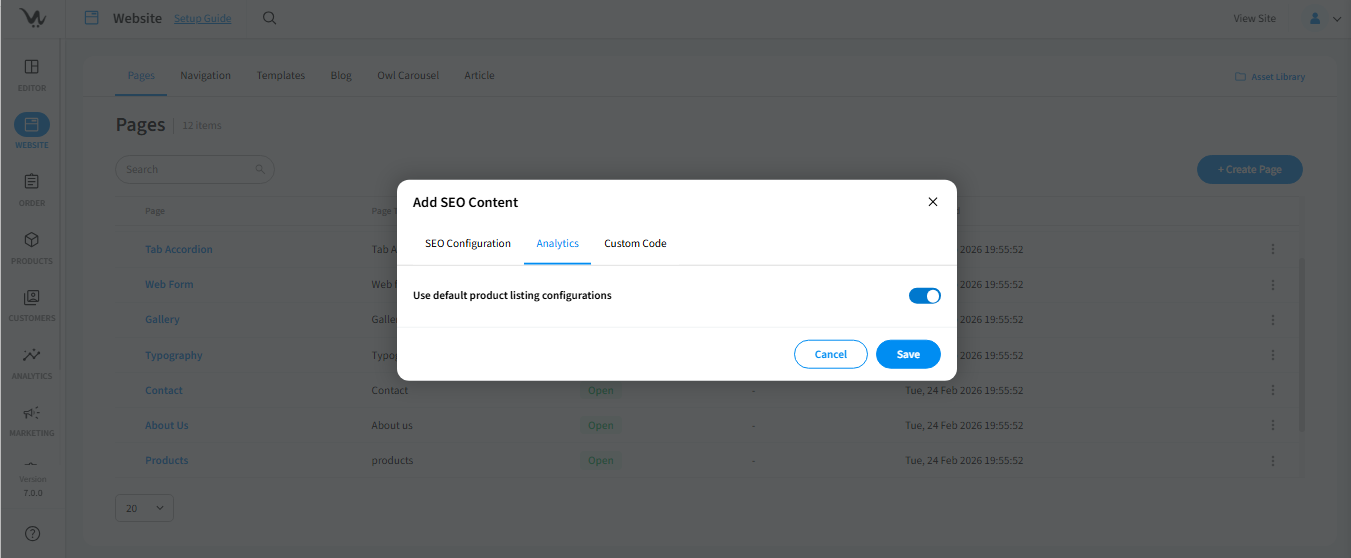
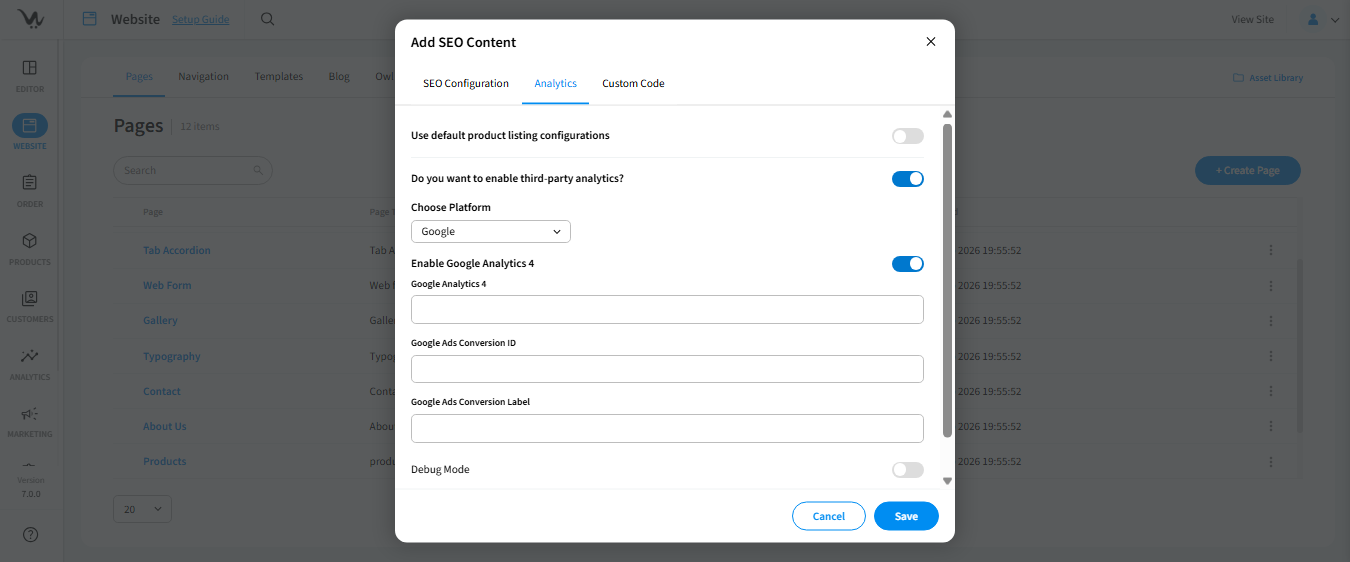
Default Analytics:
- Use Default analytics if turned on; other options will be hidden.
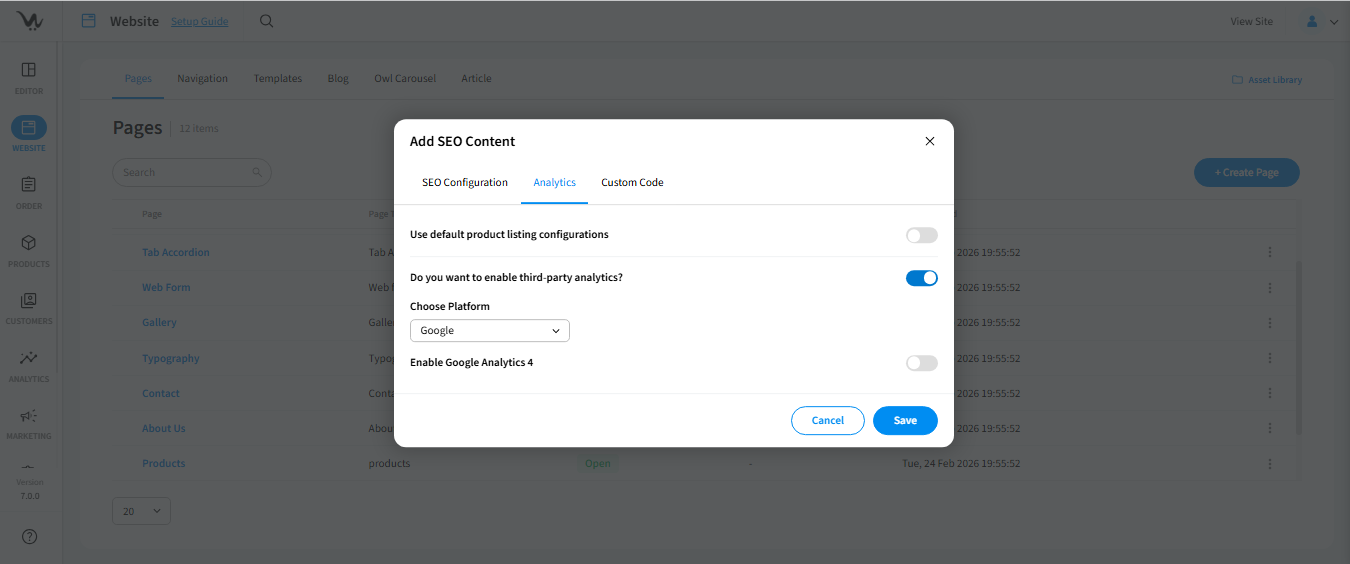
Third-Party Analytics:
- Enable third-party analytics and choose from Google Analytics or Facebook Pixel.
Google Analytics:
- Enable Google Analytics 4 and input the required details.
- Optionally enable Debug Mode and track specific events for comprehensive analysis.
Facebook Pixel:
- Enable Facebook Pixel and input your Pixel ID.
- Choose events to track, such as Add Payment Info, Initiate Checkout, and more.
Step 3 | Custom Code
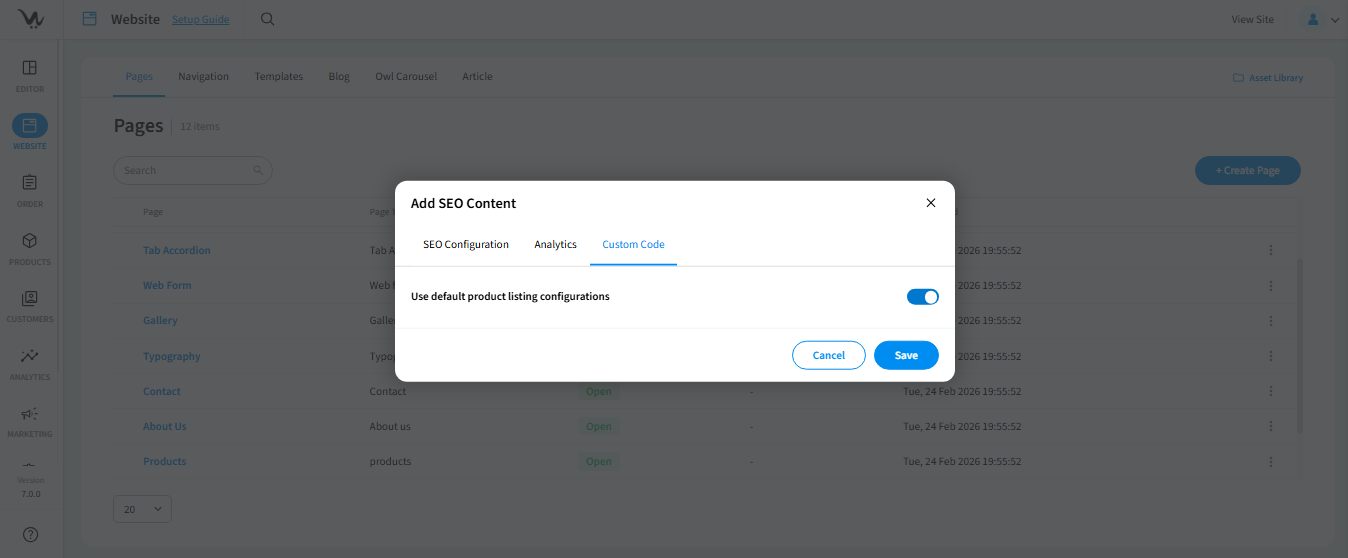
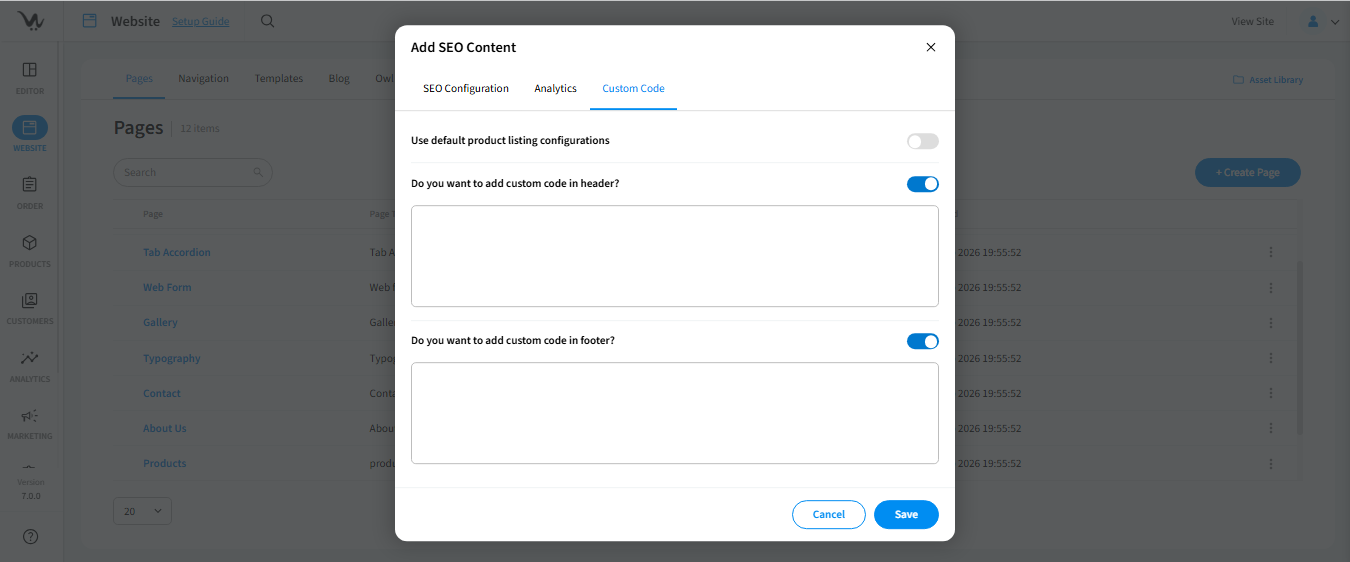
Add Custom Code:
- Improve your site’s performance by adding custom code to the header and footer.
- Enable “Add custom code in header” or “Add custom code in footer” to insert code applicable to particular page.
Congratulations! You’ve successfully configured SEO settings for your page. Maximise your online visibility with these optimised settings tailored to your content.
