Login

Popular Search

ss sss docu do doc ddd
     
Getting Started
Building a Website for Free
Signing Up for an Account
Website Editor
Sections
Snippet
Elements
Navigation
Header & Footer
Managing Columns
Switching Your Site Template
Publishing Your Site
Using Editor Menus
Online Store
Creating a Product
Creating a Product Category
Managing Product Variation
Create Customer
Creating a Customer Group
Creating an Order
Manage Your Orders
Payment Gateways Setup
Configure Shipping
Website Management
Create Pages
Configure Page SEO
Blog Management
Settings
Site Settings
Payment Gateways
Paypal Configuration
Secure Pay Configuration
Pay in Store Configuration
Store Credit Configuration
Shipping and Handling
Page Settings
Category Page
Checkout
Product Page
Shopping Cart
Search
Animation & Effects Settings
SEO Configuration
Text Personalisation
WebCommander Marketplace
Purchasing Templates
Purchasing Plugins
Partner Program
Getting Started
Dashboard
Plugins
Templates
Websites
Payout
Report
Profile
Version History

Creating a Customer Group

A feature designed to simplify your customer management. This guide will walk you through the easy steps of creating and managing customer groups in your system. Whether you’re categorising for marketing or streamlining administration, we’re here to help you through it.
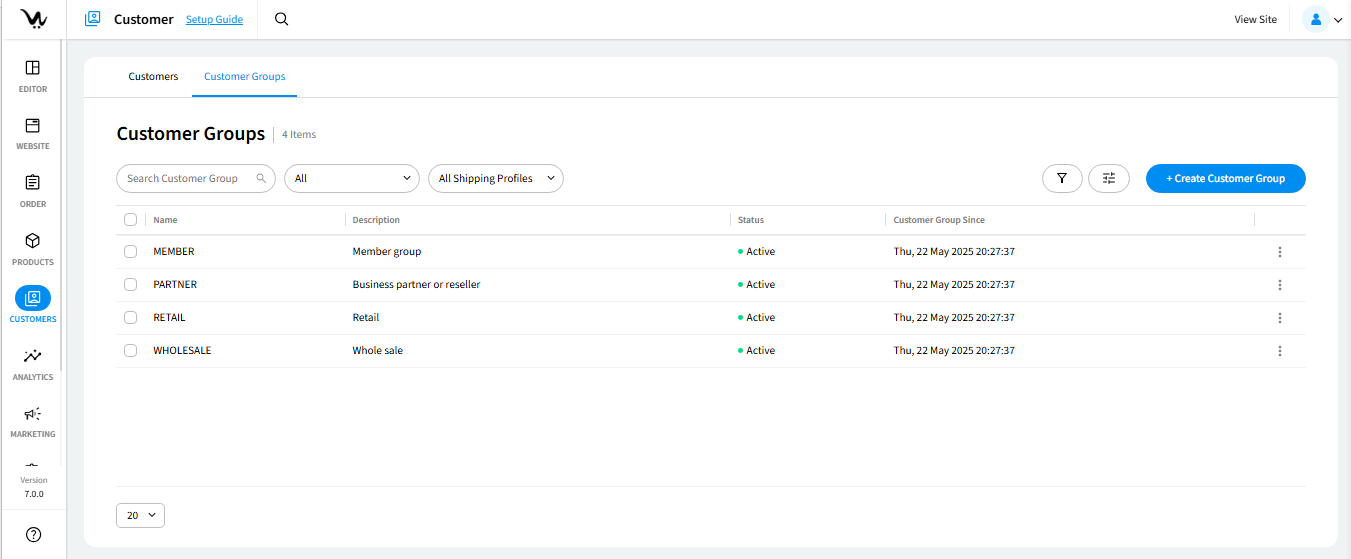
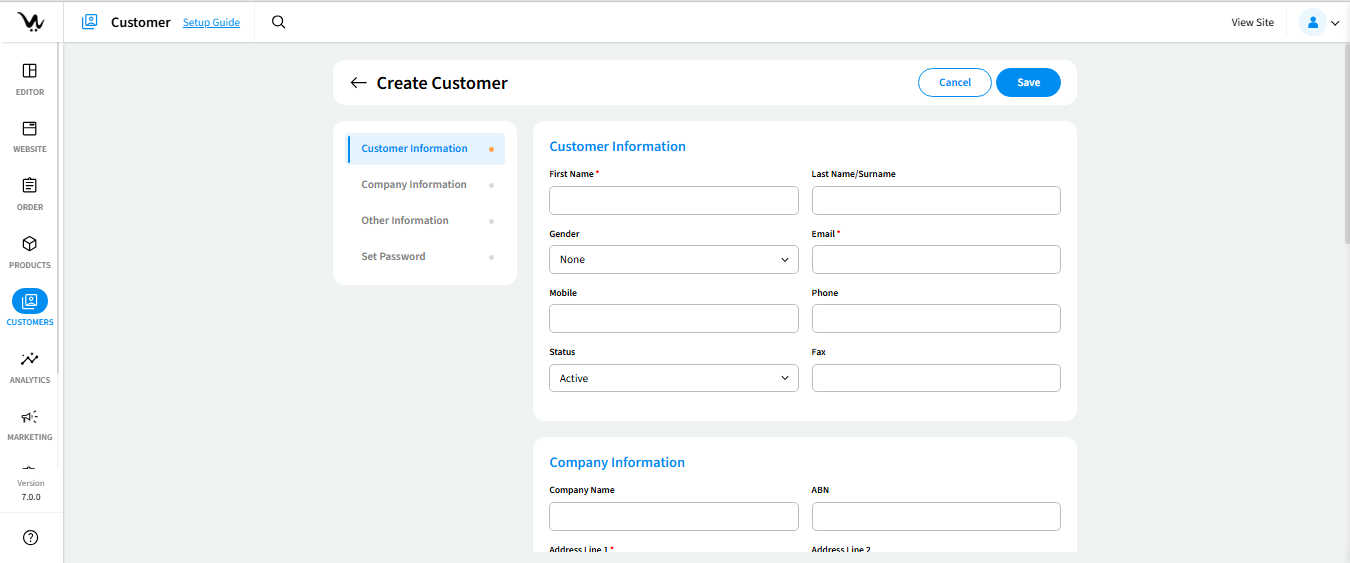
To set up a new customer group, follow these steps:

  • Go to the “Customer” section in your system.
  • Within the “Customer” section, find the “Customer Groups” tab.
  • Click on “+ Create Customer Group” to begin adding a new customer group.

Step 1 | Customer Group Details

  • Insert a name for the customer group (mandatory field).
  • Write a short description for the group.
  • Choose between Active or Inactive.
  • Select an available shipping profile.
  • Check this option to automatically add new customers to the group.

Step 2 | Add Customers

  • Click on “Add Customers” to open a popup.
  • Search and select customers from the popup.
  • After selection, click “Save” to save your chosen customers and close the popup.

Step 3| Finalisation

  • If satisfied with the group configuration, click “Save.”
  • You can revisit and edit the group configuration as needed.
Can't find your answers? Contact Us
Need Personal Assistance?

Can't find what you're looking for? Our support team is ready to help you solve any challenge.

Contact us
Footer Logo

contact@webcommander.com1300 797 571

Help Center
Documentation & Guides
Community Forum
What's New
Company
About Us
Pricing
Developer Hub
Terms and Conditions
Privacy Policy
goToTop

©2024 WebCommander. All rights reserved.