Organising Products into Categories
Categories help you group your products so customers can browse and find what they are looking for more easily on your storefront.
You can create categories to group products in ways that make sense for your store. For example, Clothing by gender or age group, such as Women, Men, or Baby Boys. You can manage all your categories from the Manage Categories tab in the Products section of your WebCommander admin.
Add a new category
Steps:
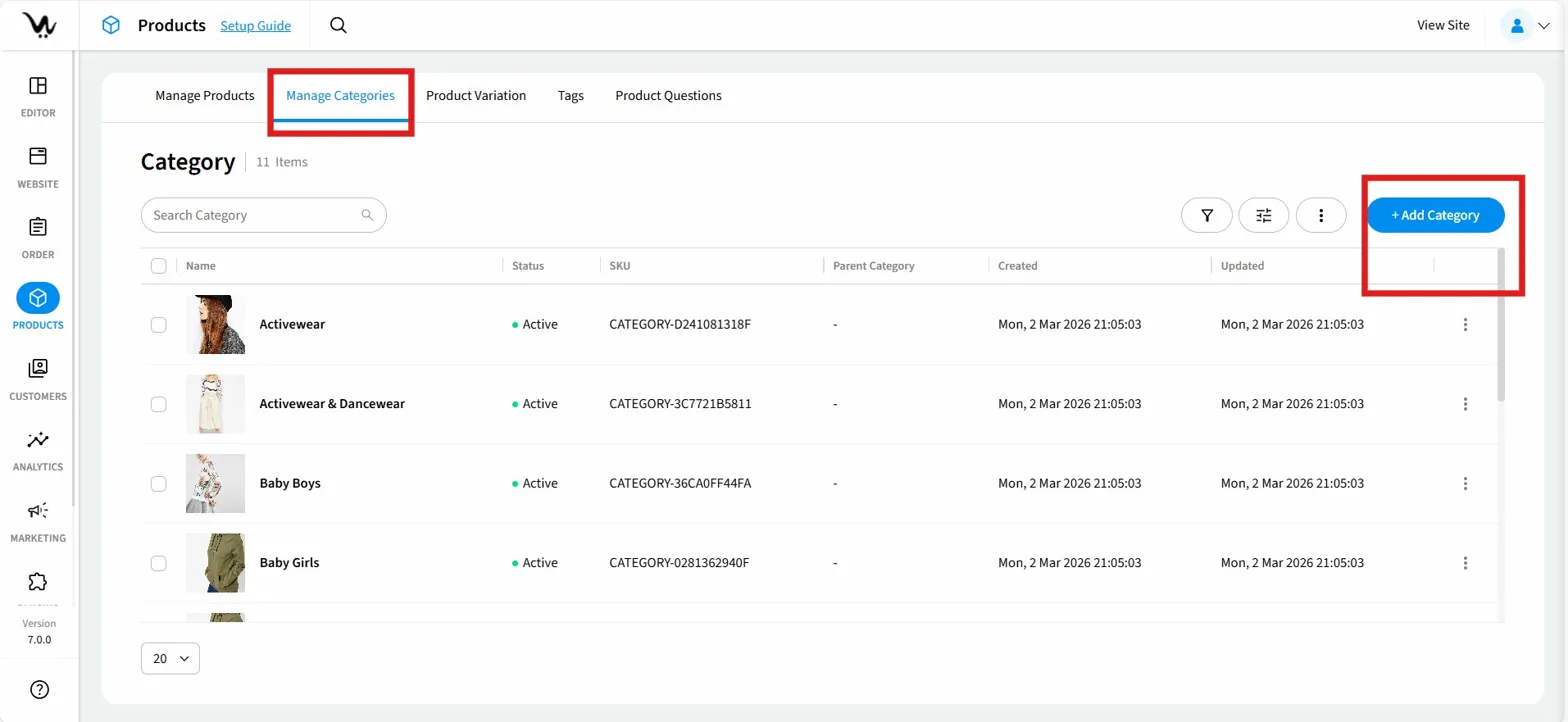
1. From your WebCommander admin, click Products in the left sidebar.
2. Click the Manage Categories tab.
3. Click + Add Category in the top-right corner
4. On the Add Category page, enter a name in the Category name field. This is the only required field.
5. Optionally, select a Parent Category from the dropdown to nest this category under an existing one, choose a Layout, and enter a Category Summary.
6. Use the left-side panel to navigate to additional sections — such as Image, Description, and SEO — and fill in any relevant details.
7. Click Save in the top-right corner
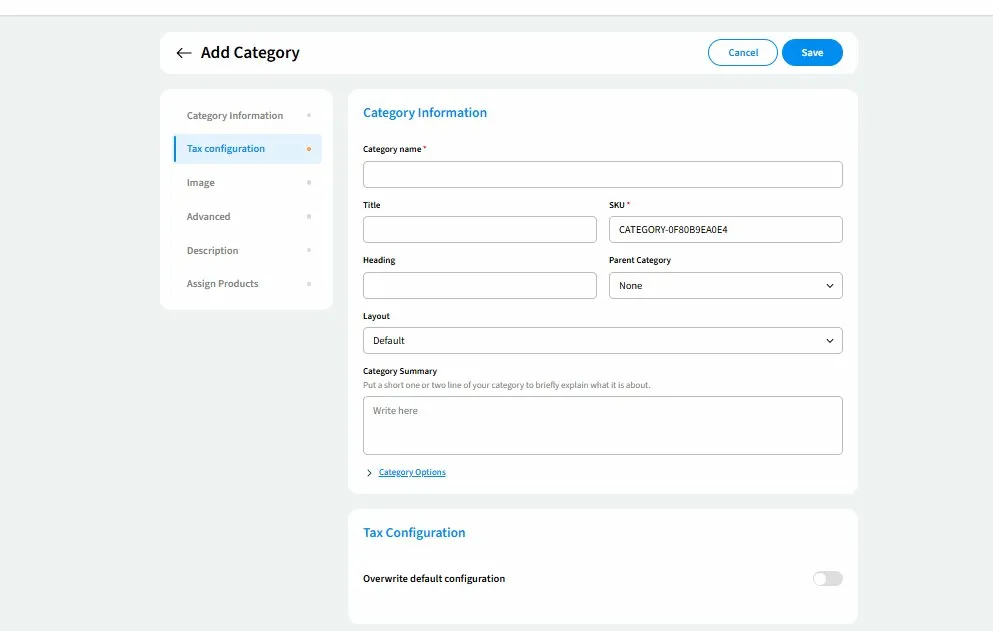
Tip: A unique SKU is automatically generated for every new category (for example, CATEGORY-0F80B9EA0E4). You do not need to enter one manually.
What you'll see: Your new category appears in the Category list. You can now assign products to it and it will be visible on your storefront once products have been added.
Edit a category
You can update any category detail at any time — including its name, image, description, assigned products, and SEO settings.
Steps:
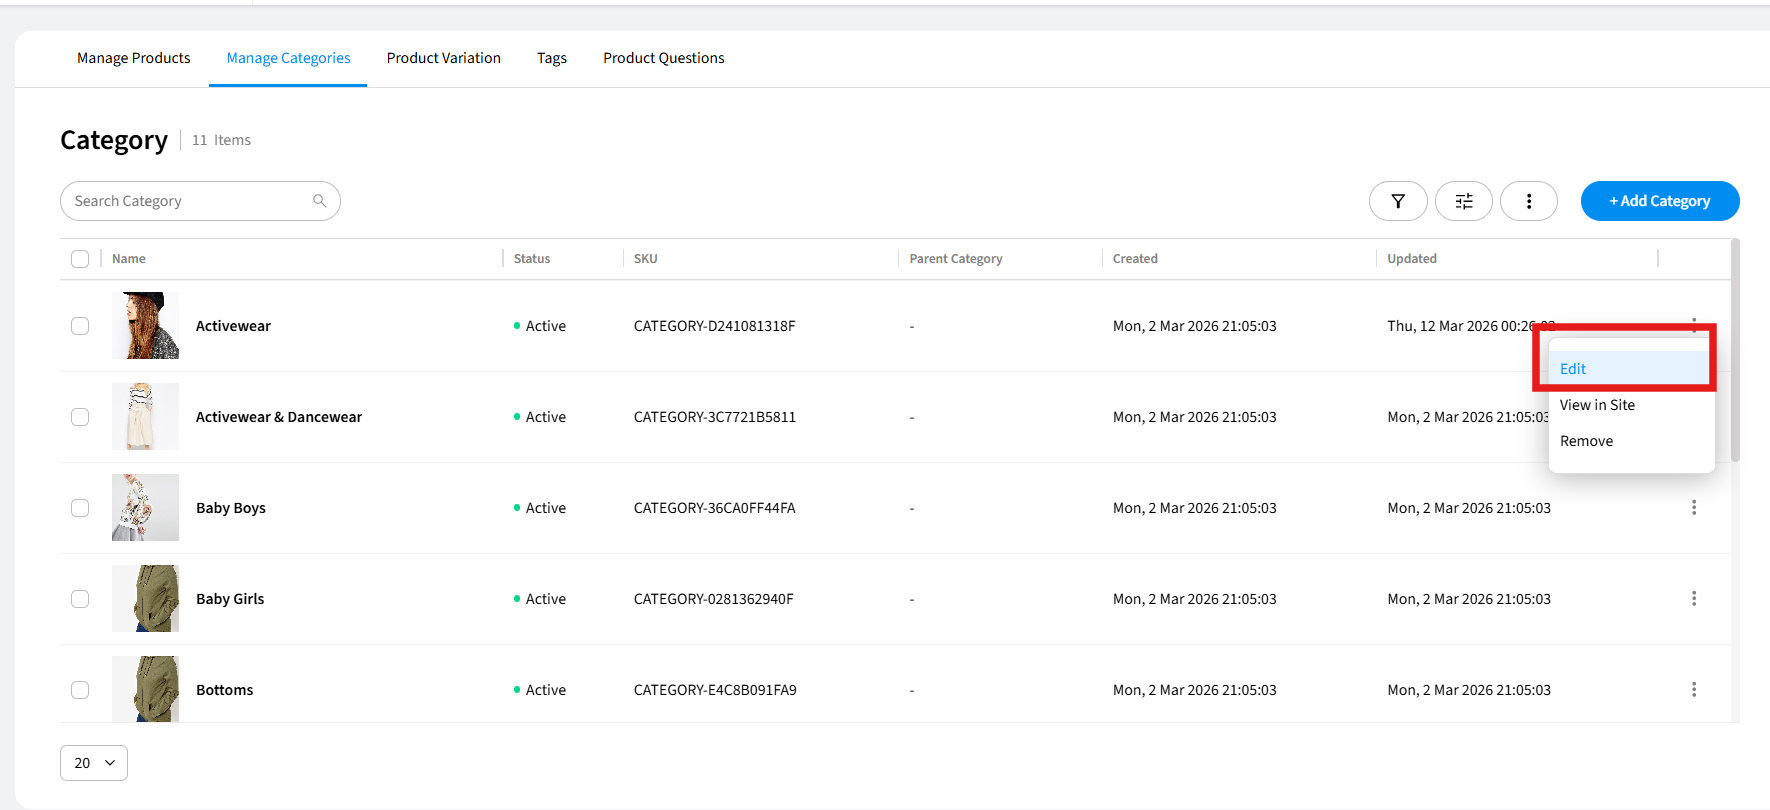
1. in the Manage Categories tab, find the category you want to update and click the ⋮ (three-dot) menu at the end of its row.
2. Click Edit.
3. On the Edit Category page, use the left-side panel to navigate between sections and make your changes.
4. Click Save in the top-right corner.
5. What you'll see: Your changes are saved and reflected on the category page on your storefront immediately.
Assign products to a category
You can add products to a category directly from within the category form. This is useful when setting up a new category or updating which products appear in it.
Steps:
1. In the Manage Categories tab, click the ⋮ (three-dot) menu next to the category you want to update and click Edit.
2. In the left-side panel, click Assign Products.
3. In the Products section, click Add Products or Manage Products.
4. The Assign Products popup will appear, showing your full product catalogue. Use the Search bar, All Categories dropdown, or Sort By options to find the products you need.
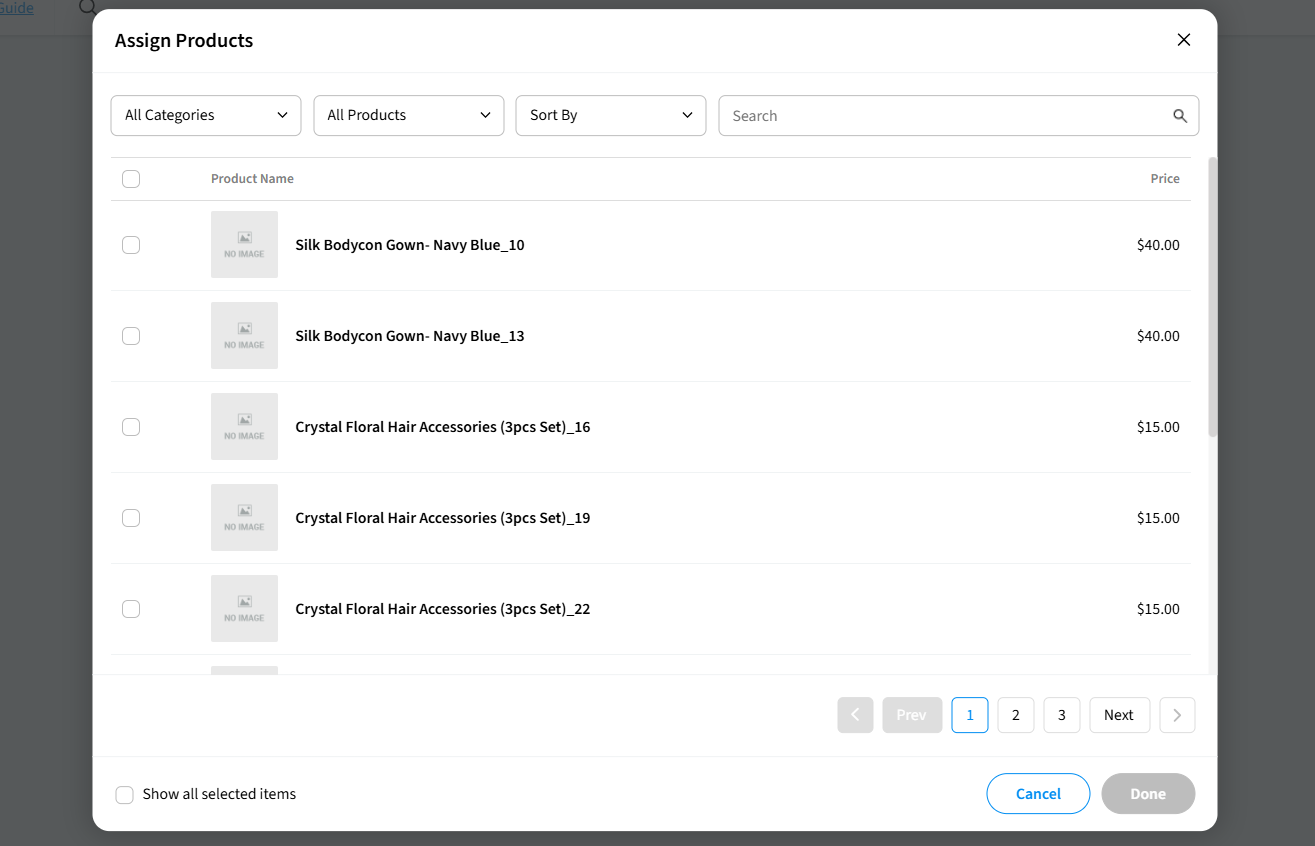
5. Tick the checkbox next to each product you want to assign to this category.
6. Click Done to confirm your selection.
7. Click Save in the top-right corner.
Tip: Use the Show all selected items checkbox at the bottom of the popup to review everything you have selected before confirming.
What you'll see: The assigned products appear in the Products table within the category form, showing each product's name, price, and ordering. They will also appear on the category page on your storefront.
View a category on your site
You can open a category's live storefront page directly from your admin to check how it appears to customers.
Steps:
1. In the Manage Categories tab, find the category you want to view and click the ⋮ (three-dot) menu at the end of its row.
2. Click View in Site.
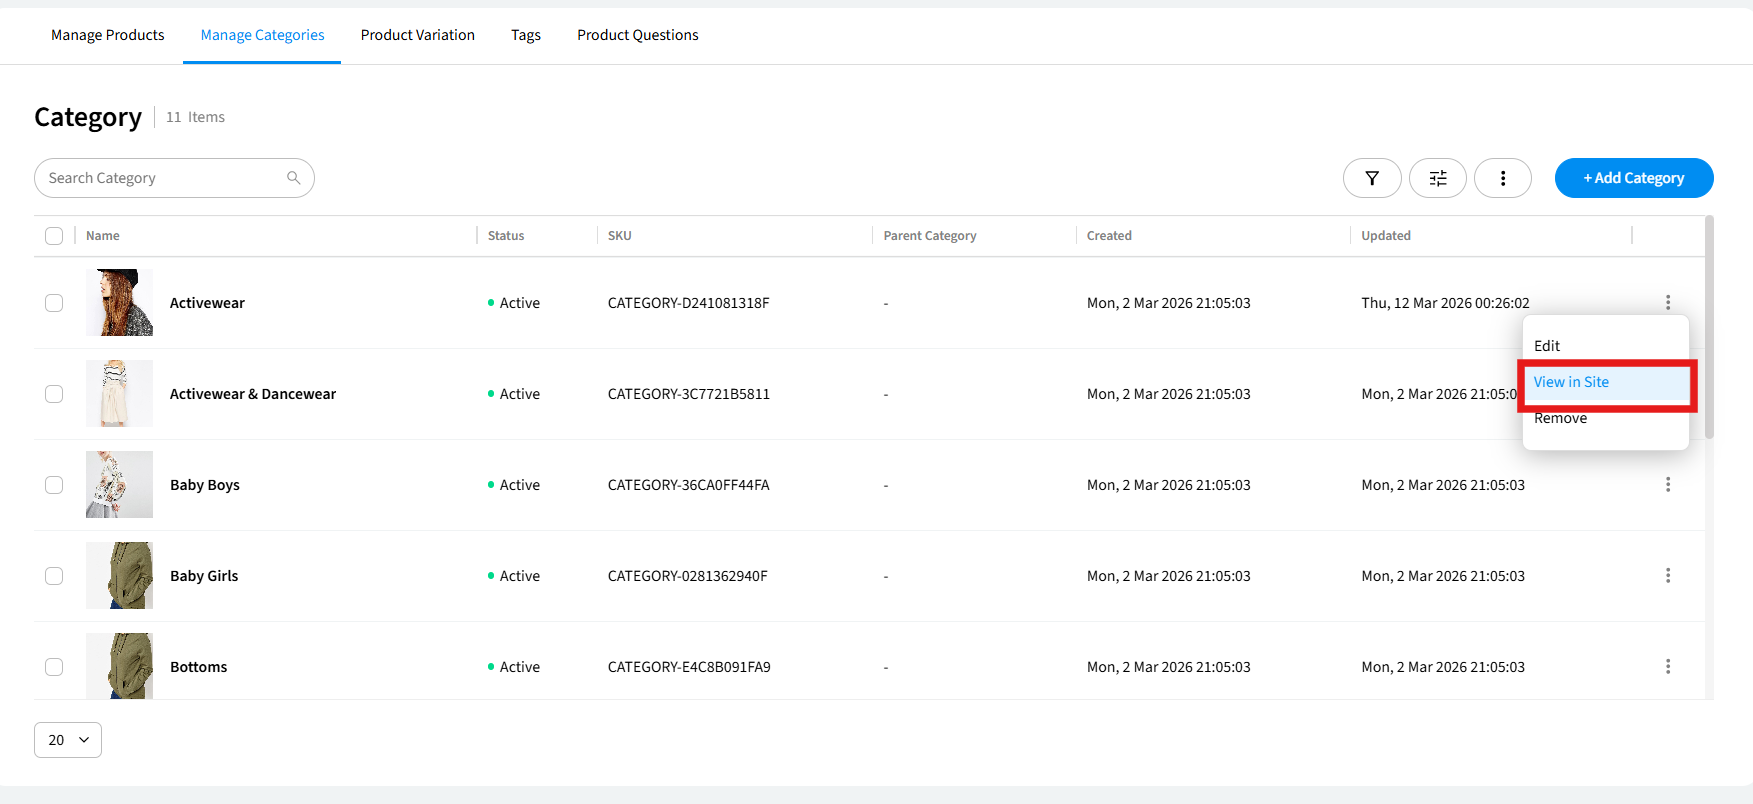
What you'll see: The live category page opens in a new browser tab, showing the category name, a left-side category navigation panel, and a grid of all products assigned to that category.
Remove a category
Removing a category deletes the category from your WebCommander admin and your storefront.
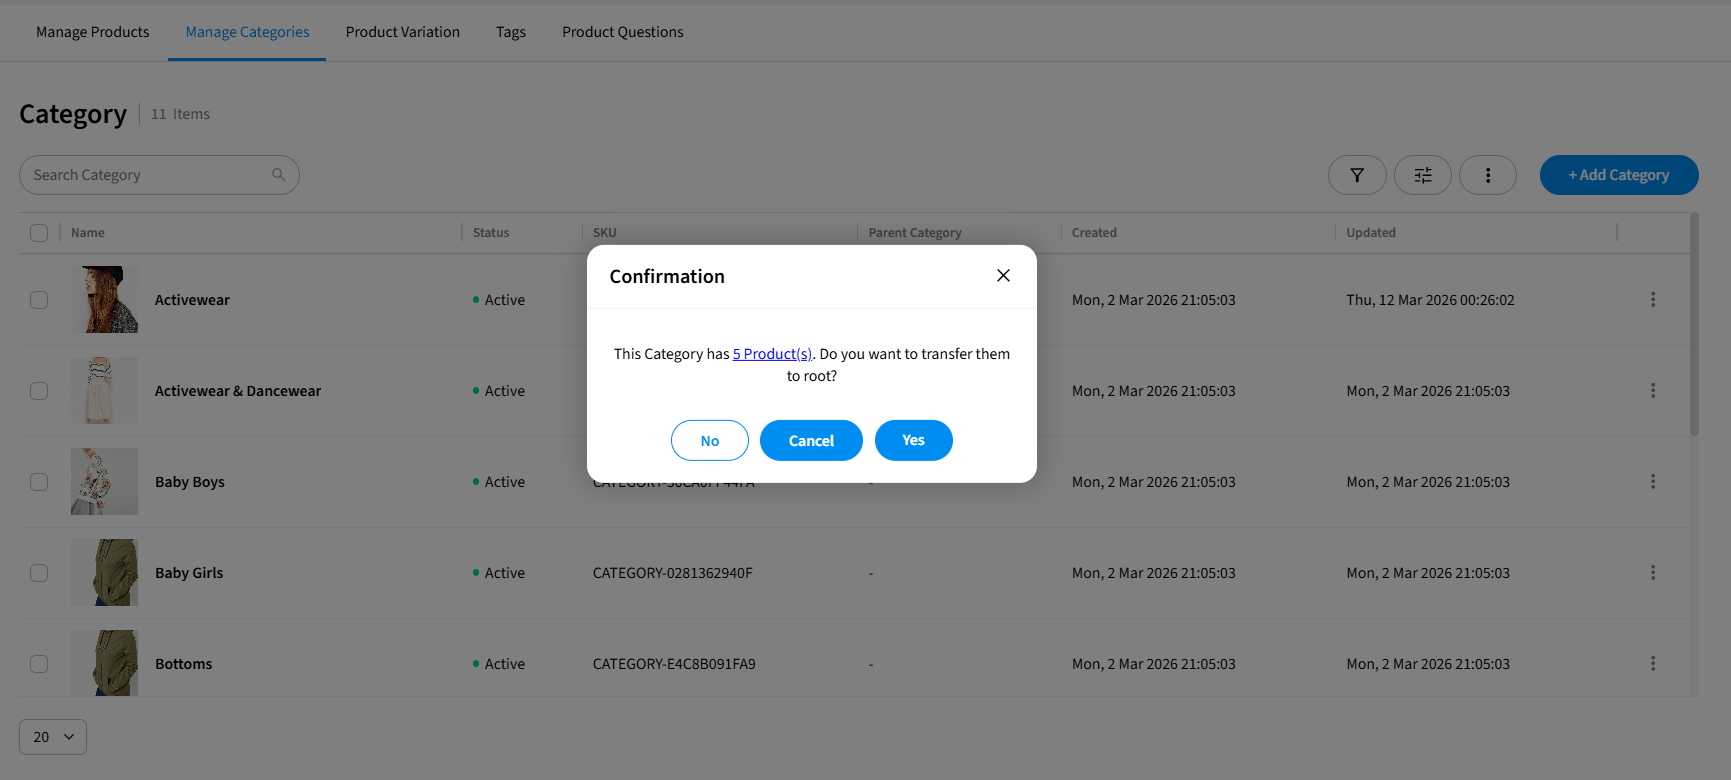
Warning: When you remove a category that has products assigned to it, a confirmation dialog will ask whether you want to transfer those products to root. Clicking Yes moves the products to the top level with no category assigned. Clicking No removes the category without transferring the products. Clicking Cancel cancels the action entirely and keeps the category as it is.
Steps:
1. From the Manage Categories tab, find the category you want to remove and click the ⋮ (three-dot) menu at the end of its row.
2. Click Remove.
3. If the category contains products, a dialog will ask whether to transfer them to root. Click Yes to transfer, No to remove without transferring, or Cancel to return.
4. If the category is empty, a confirmation dialog will appear. Click Yes to confirm removal, or No to cancel.
What you'll see: The category is immediately removed from your Category list and the item count decreases by one. The category page no longer appears on your storefront.