Adding and Updating A Product
You can add new products, update product details such as pricing, categories, and descriptions, and manage your entire product catalogue from the Products page in your WebCommander admin.
Add a new product
From the Products page, you can add two types of products: Physical or Downloadable. Both types use the same form — only the product type tag differs
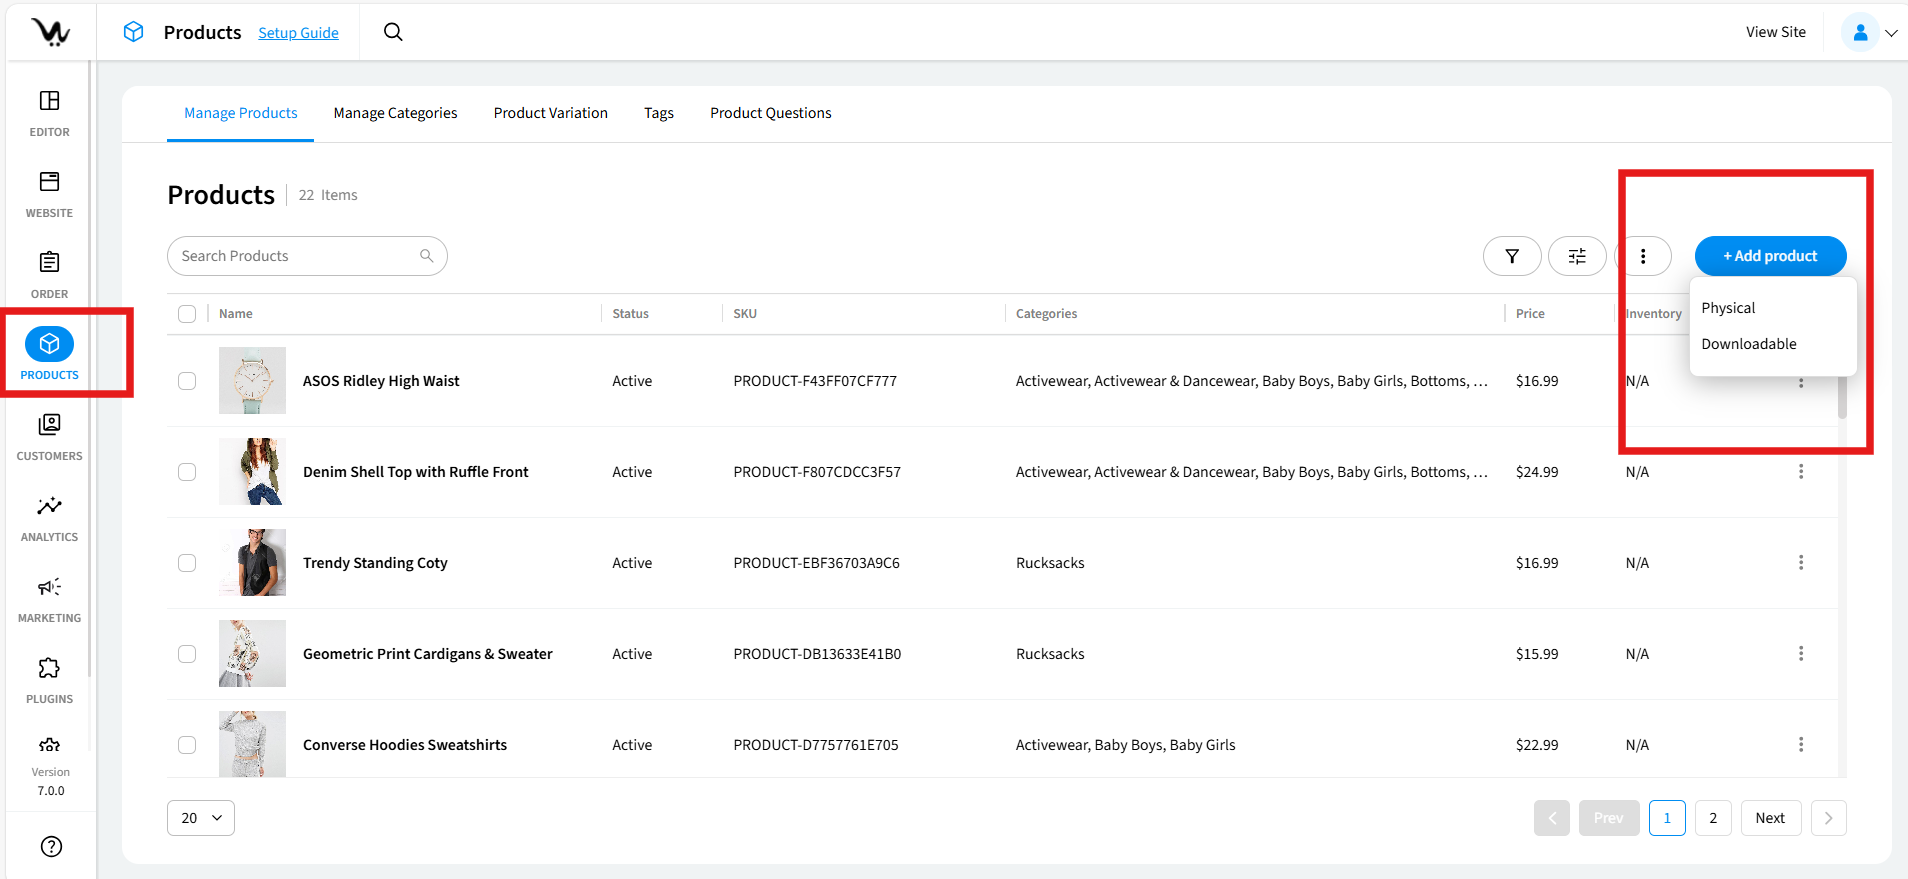
- From your WebCommander admin, click Products in the left sidebar.
- On the Manage Products tab, click + Add product in the top-right corner.
- From the dropdown, select either Physical or Downloadable.
- Fill in your Product Name and all the Product Fields carefully for the specific product
- Click Save in the top-right corner
What you'll see: Your new product appears in the Products list, and its item count increases by one. The product is set to Active status by default and is immediately visible on your storefront
Edit a product
You can update any product detail at any time — including its name, price, images, description, and SEO settings. Changes take effect on your storefront as soon as you save.
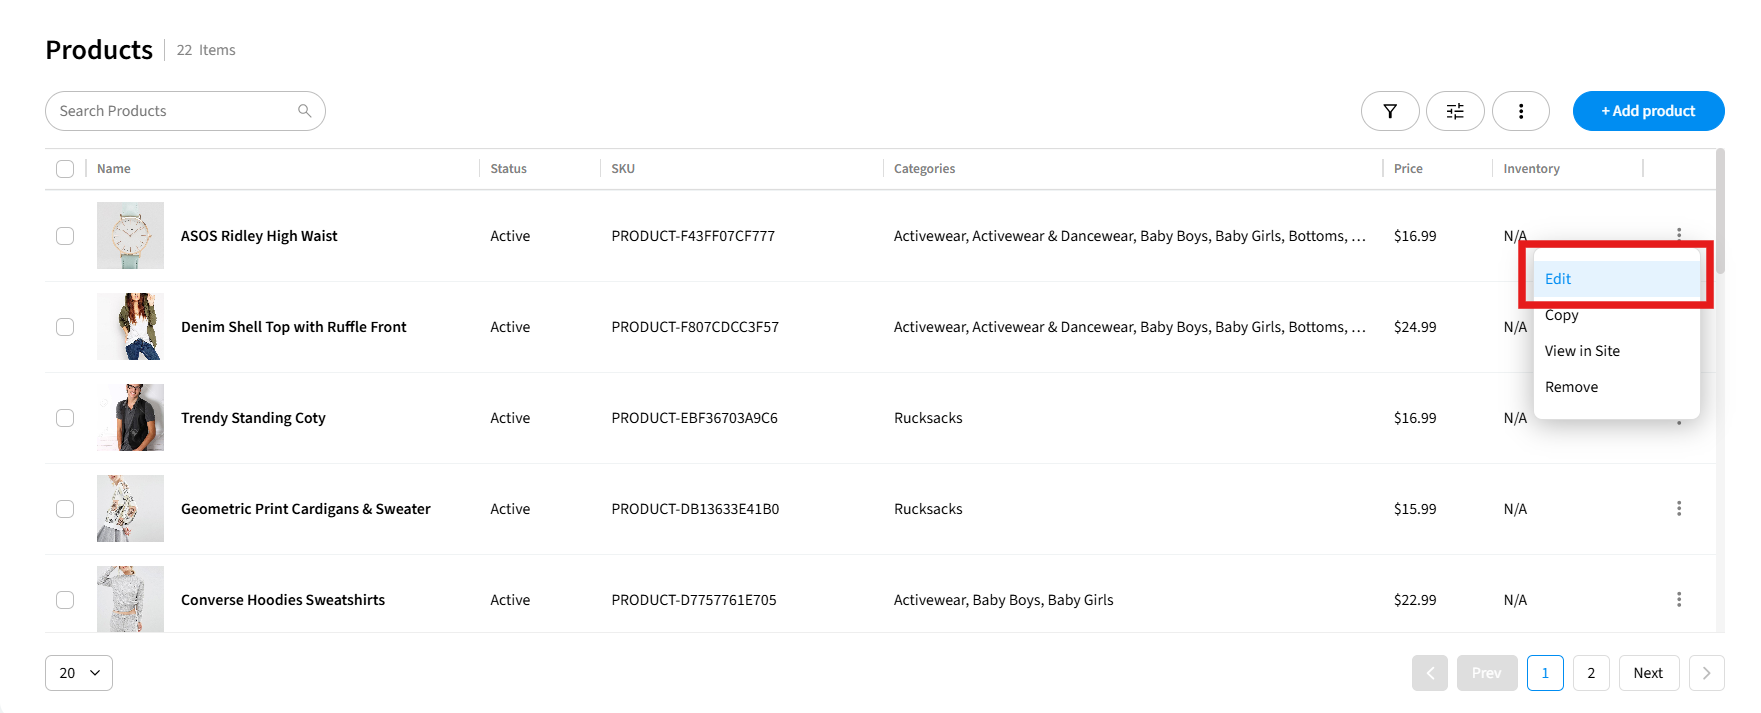
- On the Manage Products tab, find the product you want to update.
- Click the ⋮ (three-dot) menu at the end of the product's row and choose Edit.
- On the Edit Product page, update your product details. You can get a full description of every available field here.
- Click Save in the top-right corner
What you'll see: You are returned to the Products list, and your changes are live on the storefront immediately.
Copy a product
Copying a product is a fast way to create a new listing that shares the same details as an existing on. It’s mostly useful when adding product variants or similar items. The copy includes all sections: pricing, images, variations, SEO, and custom fields.
- From the existing product list, find the product you want to copy.
- Click the ⋮ (three-dot) menu at the end of the product's row.
- Click Copy
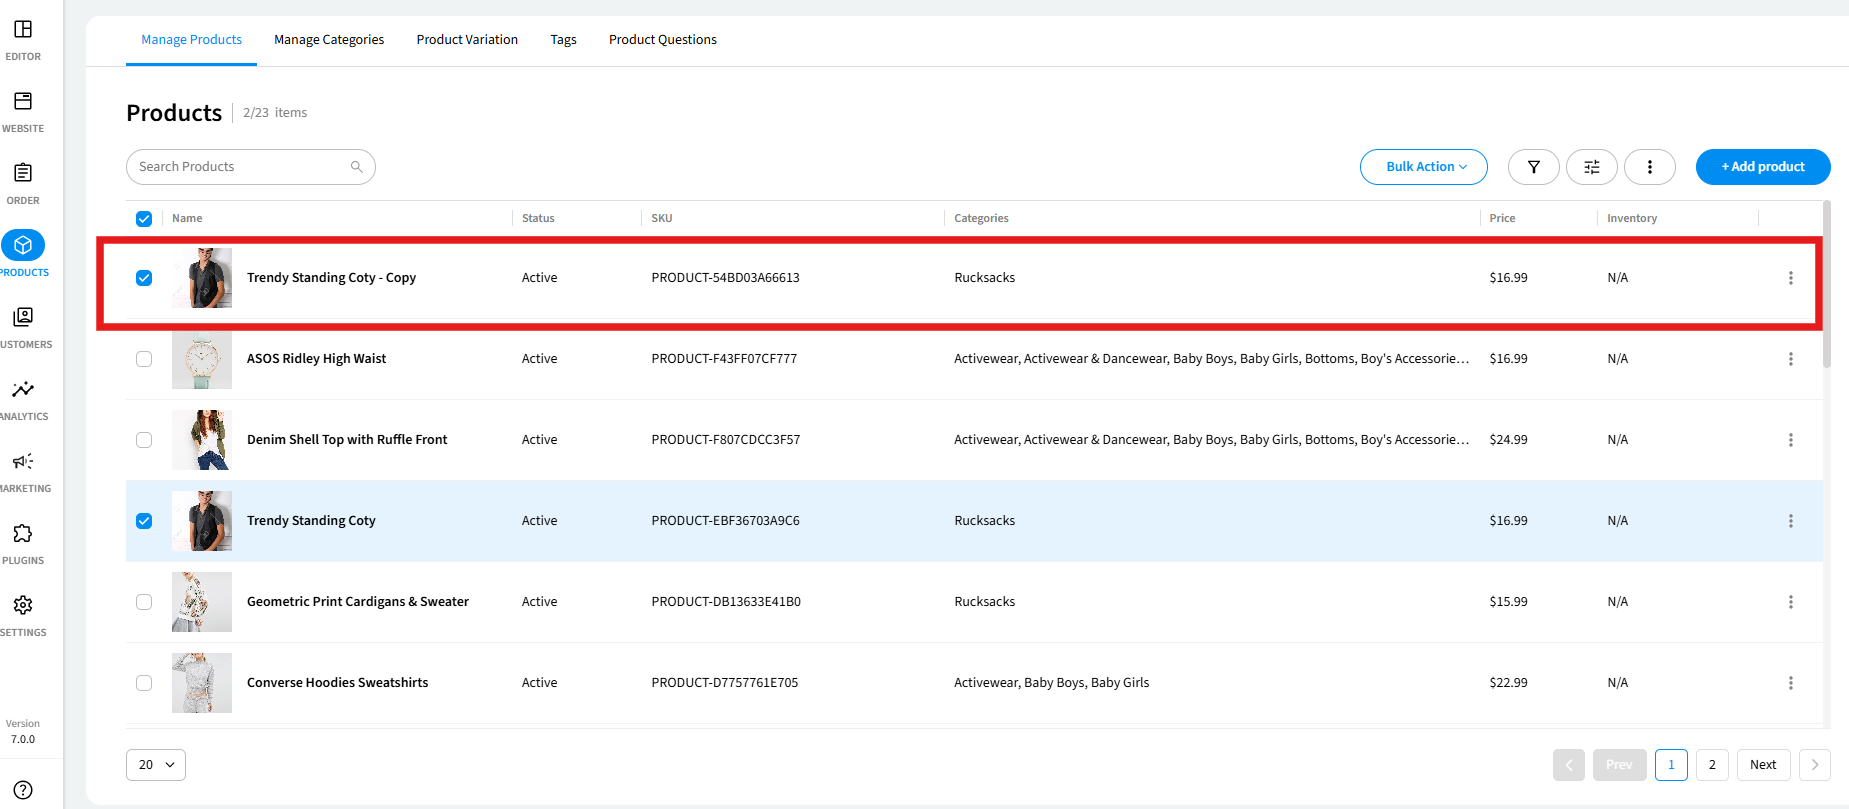
What you'll see: A duplicate product is instantly added to your Products list with the name [Original Product Name] - Copy and a new auto-generated SKU. The copy is set to be visible on the storefront. You can then click Edit on the copy to make any changes.
View a product on your site
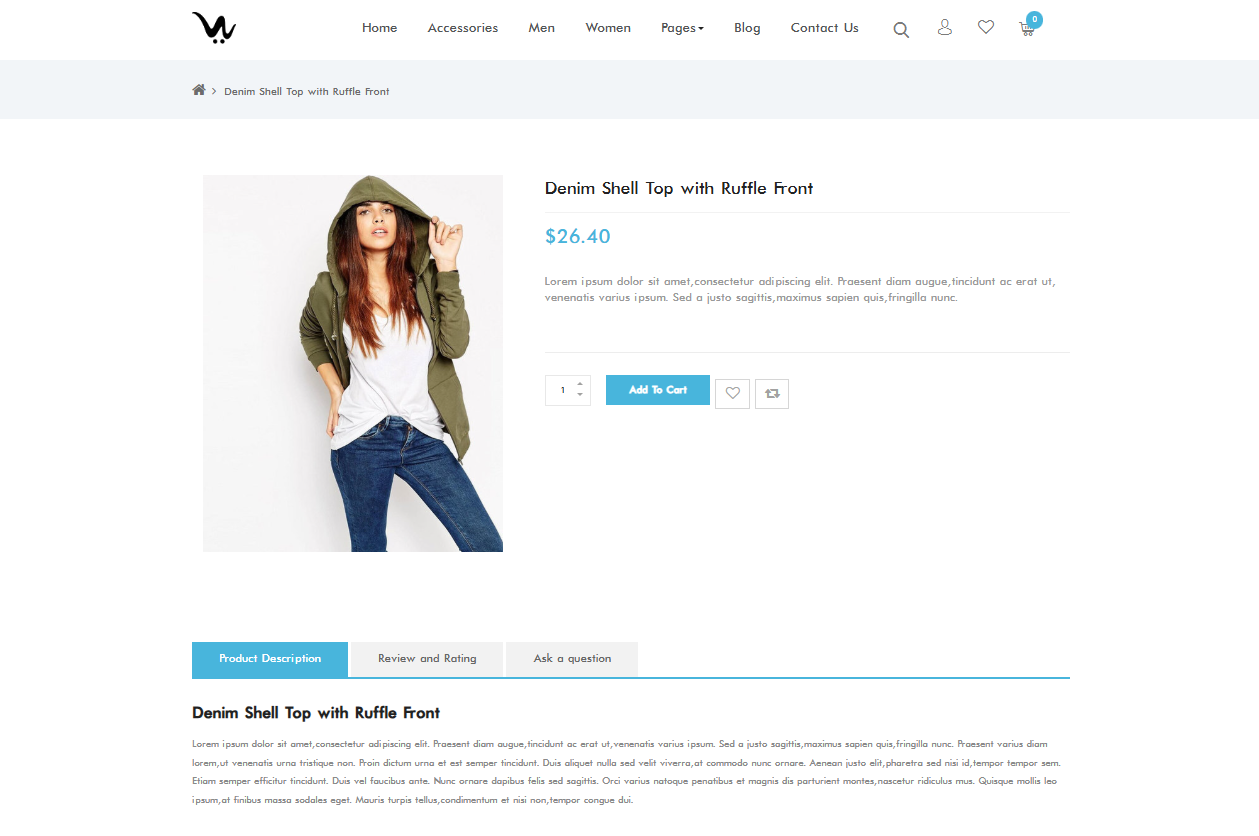
Once you know how to add and edit a product, you must know how that product will display on your online store. You can open a product's live storefront page directly from your admin to check how it appears to customers.
- From the product list viewed in Manage Products tab, find the product you want to view.
- Click the ⋮ (three-dot) menu at the end of the product's row.
- Click View in Site.
Remove a product
If you don’t want a product to be in your store anymore, you can delete it anytime. With the remove option, you can delete a product permanently from WebCommander and your storefront.
For a single product,
- On the Manage Products tab, find the product you want to remove.
- Click the ⋮ (three-dot) menu at the end of the product's row.
- Click Remove.
- In the confirmation dialog, click Yes to confirm, or No to cancel.
Fore multiple products,
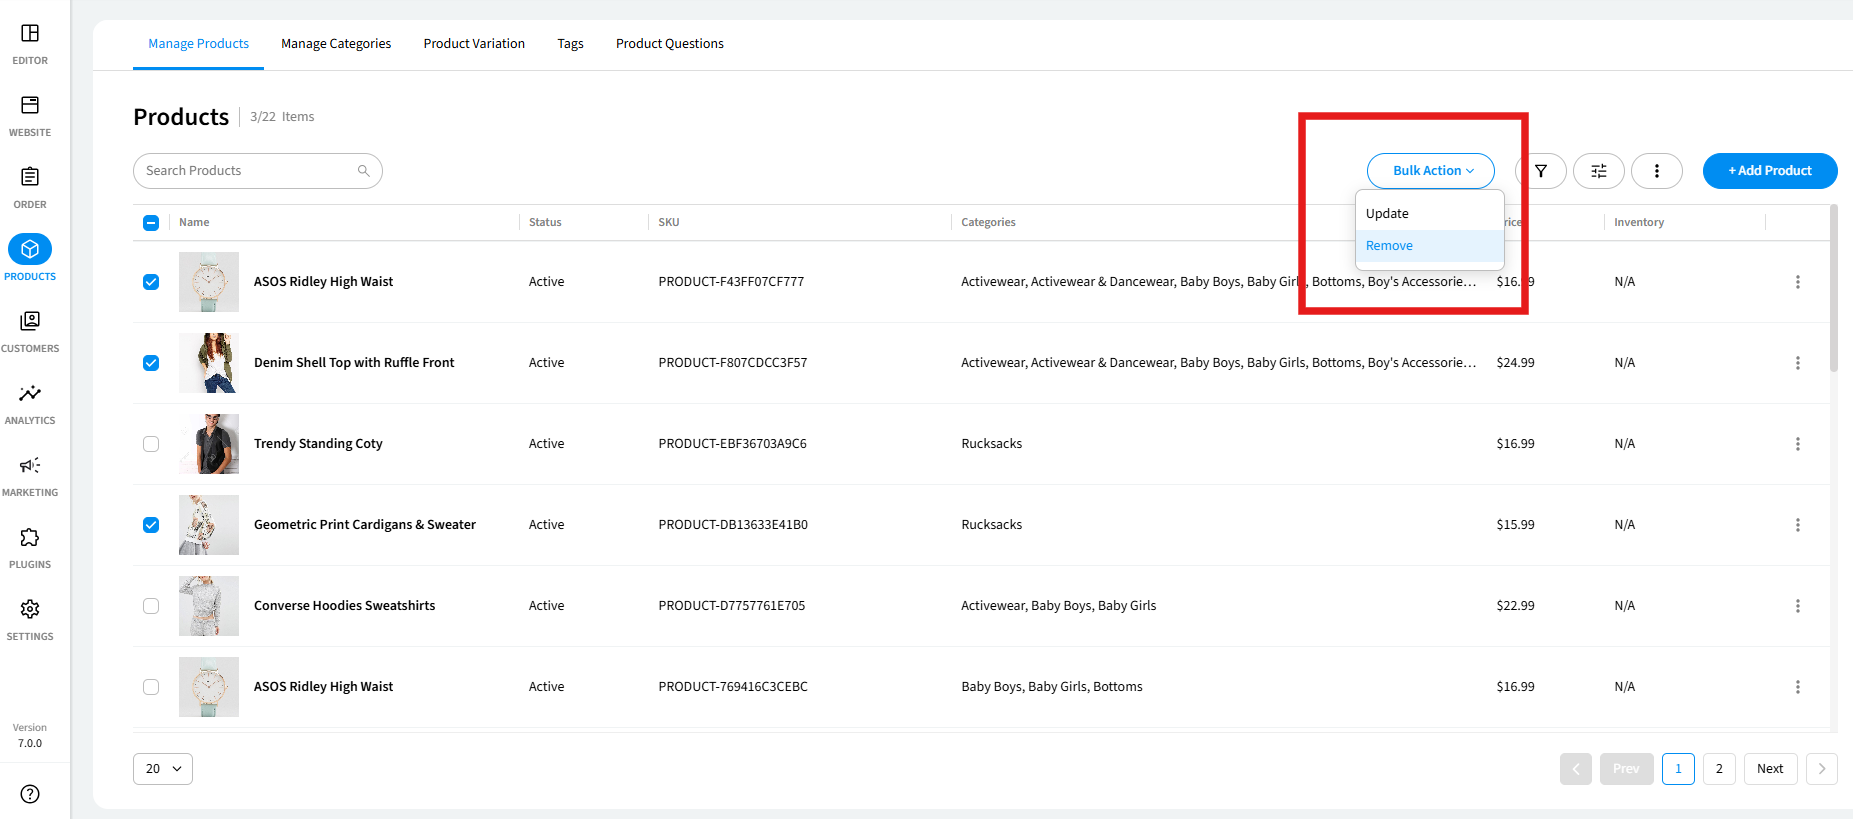
- On the Manage Products tab, check the checkbox next to each product you want to remove.
- To select all products on the current page, check the checkbox in the column header.
- Click the Bulk Action dropdown that appears in the top-right area of the list and select Remove..
- Confirm the action when prompted.
What you'll see: The product is immediately removed from your Products list and the total item count decreases by one. The product no longer appears on your storefront.