Credit Cards
In this article we will learn how to configure credit card processors. In order to do so, you need to install the certain (SecurePay, Stripe, eway, ePath, Nab, Zip, Square, Braintree, Fatzebra, Payrix). To install plugin, visit here to search and install you desired payment provider plugin.
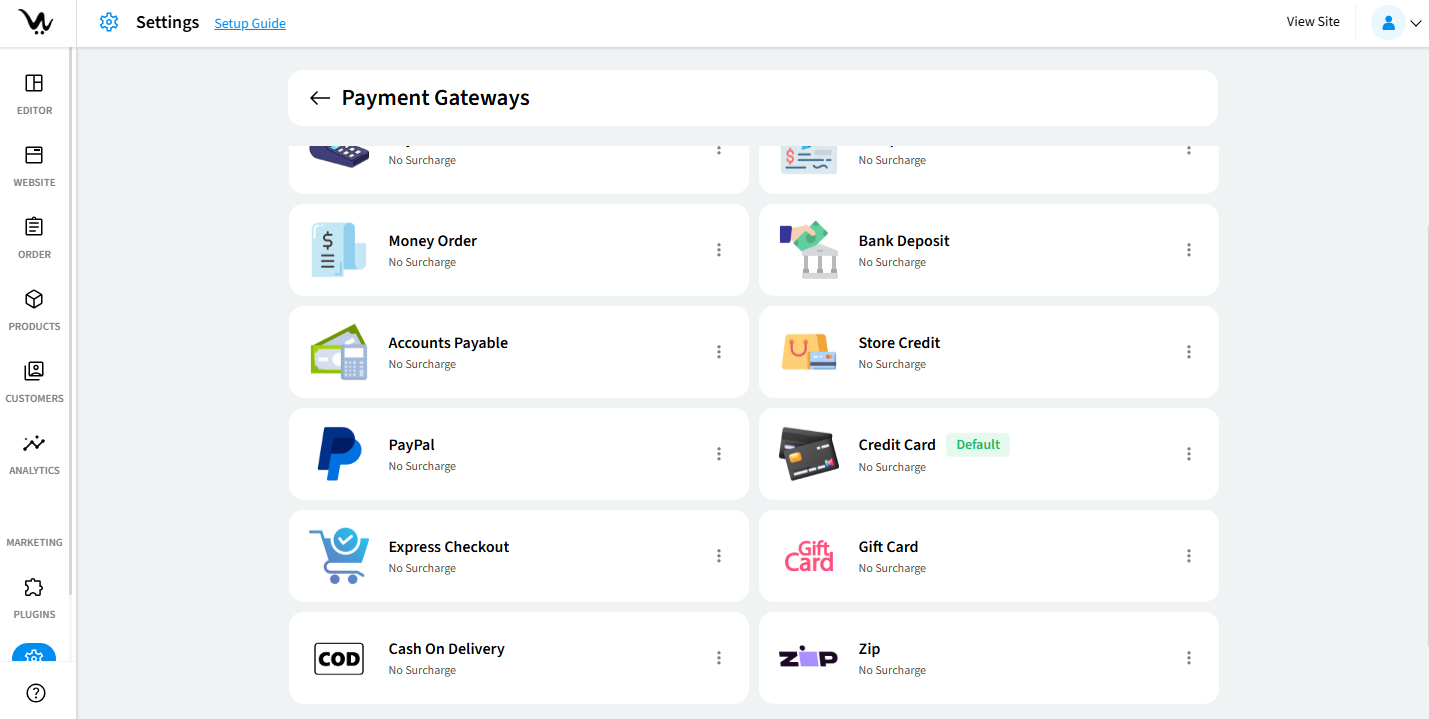
Enable and configure Credit Card Payment Gateway
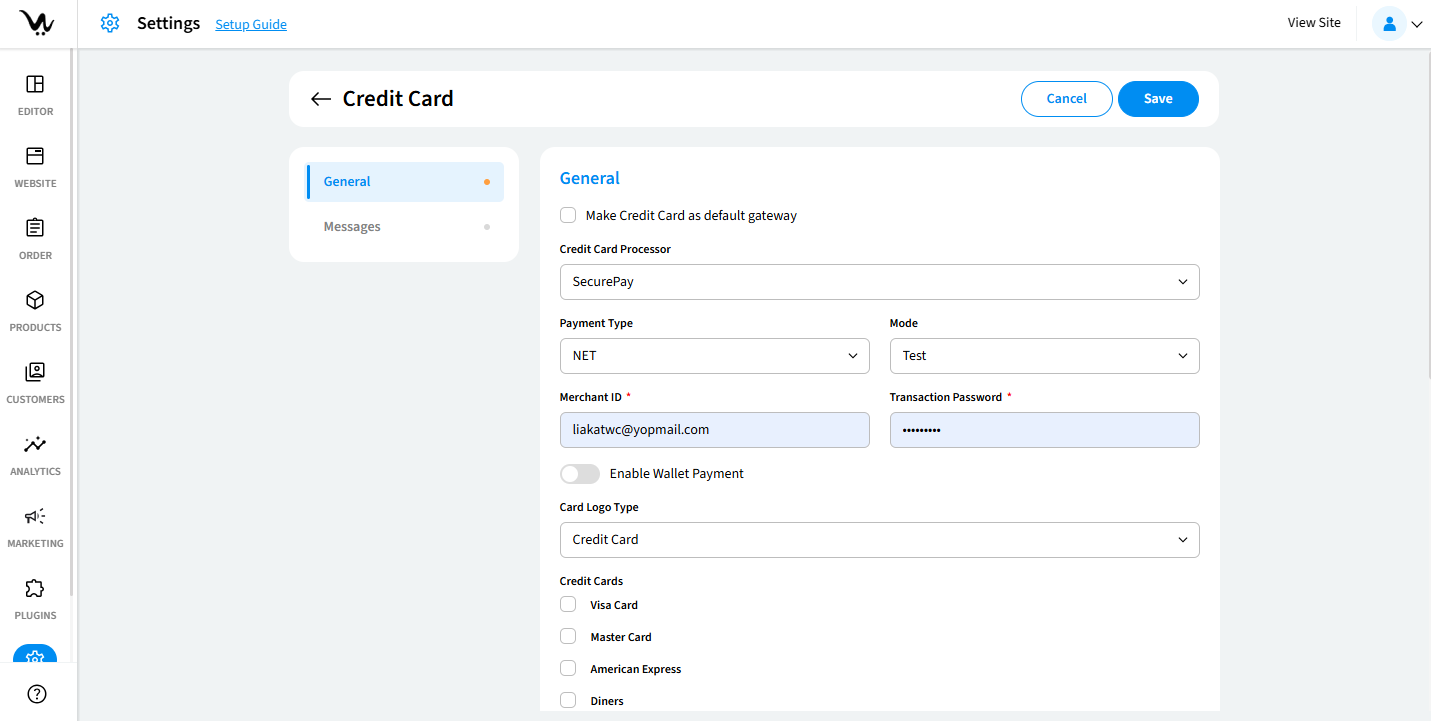
- Make default gateway (Optional): allows you to set it as the default payment option. All payments will default to the method unless changed.
- Credit Card Processor: choose from the credit card processor dropdown.
- Payment Type: Select from Merchant Hosted and Server Hosted. Input Business ID, API Username and API.
- SecurePay, NAB - Net or API
- Securepay Oauth2 - Merchant Code, Client ID and Client Secret
- eway - Shared or Checkout, Direct, User Name
- Zip, Braintree - API Key
- Fatzebra -User Name, Token Password
- Mode: Choose between Sandbox/Test and Live in case of NAB, ZIP, Braintree, Fatzebra.
- Version: Choose version between V2 and V3 in case of eway.
- Input
- SecurePay, NAB - Merchant ID, Transaction Password
- eway, - Customer ID
- epath - Payment URL
- Wallet Payment (Optional): Enable Wallet Payment if applicable.
- Authentication: Enter your API Key, Secret Key and Public Key provided by card processor in case of Stripe, Braintree.
- Card Logo Type (Optional): Choose Card Logo Type from Credit Card and Custom. In case of Custom, you get to upload your own logo.
- Credit Card Type (Optional): Select applicable Credit Card Types (Visa, MasterCard, etc.).
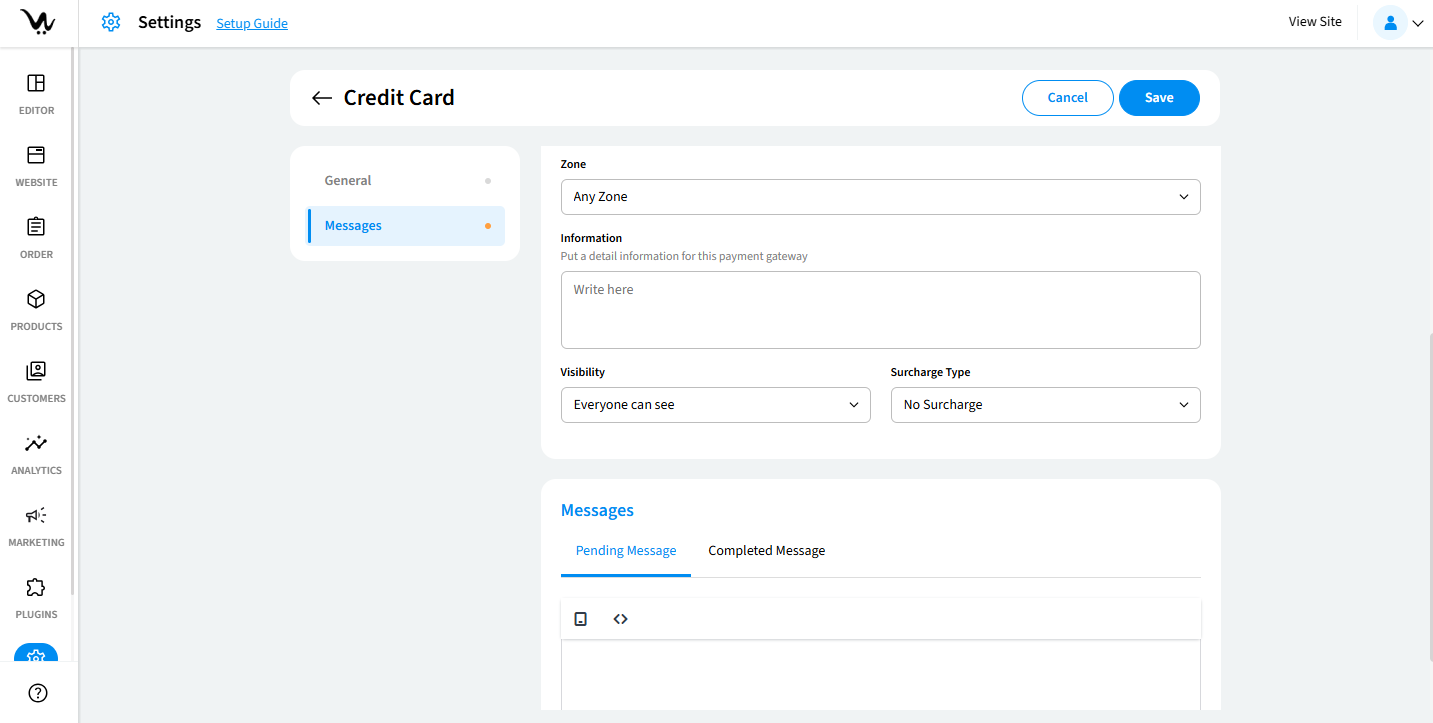
- Zones: Choose one of the Zones where this gateway will be active.
- Information (Optional): add internal or customer-facing notes such as bank account details, payment instructions, or terms.
- Visibility: User is able to select any one among the following:
Everyone can see → Everyone will be able to see credit card processor option in checkout.
Customers → Only registered customer will be able to see credit card processor option in checkout.
Selected Customer → Manage Customer → User is able to select specific customers for visibility. - Surcharge Type (Optional): Choose from No Surcharge, Flat Surcharge, Percent Surcharge, or Surcharge on Amount Range. Define values accordingly for accurate transaction calculations.
- Allowed for (Optional) → Select for which delivery options credit card will be available.
- Pending Payment Message: Customise the message shown while the payment is pending. Example: "Your payment is being processed. Please wait for confirmation." Customer gets to see the pending message when their payment is not completed.
- Completed Message: Customise the message shown while the payment is completed. Example: "Your payment has been processed successfully." Customer gets to see the pending message when their payment is not completed.
Troubleshooting Guide
- Confirm the plugin is installed.
- Ensure Secret Key and Publishable Key are correct.
- Verify the payment mode is properly selected.
- Ensure the zone, visibility, and card types are correctly configured.