Express Checkout
In this article we will learn how to configure express checkout. In order to do so, you need to install the certain payment processor (PayPal, Afterpay, Apple Pay, Google Pay). To install plugin, visit here to search and install you desired payment provider plugin.
Enable and configure PayPal Checkout
The PayPal Express Checkout payment gateway allows customers to complete their transactions quickly using their PayPal accounts. By offering a streamlined checkout process and trusted payment method, this gateway helps reduce cart abandonment and improves user experience.
Accessing PayPal Express Settings
- Login to your WebCommander account.
- Navigate to Settings from the left menu.
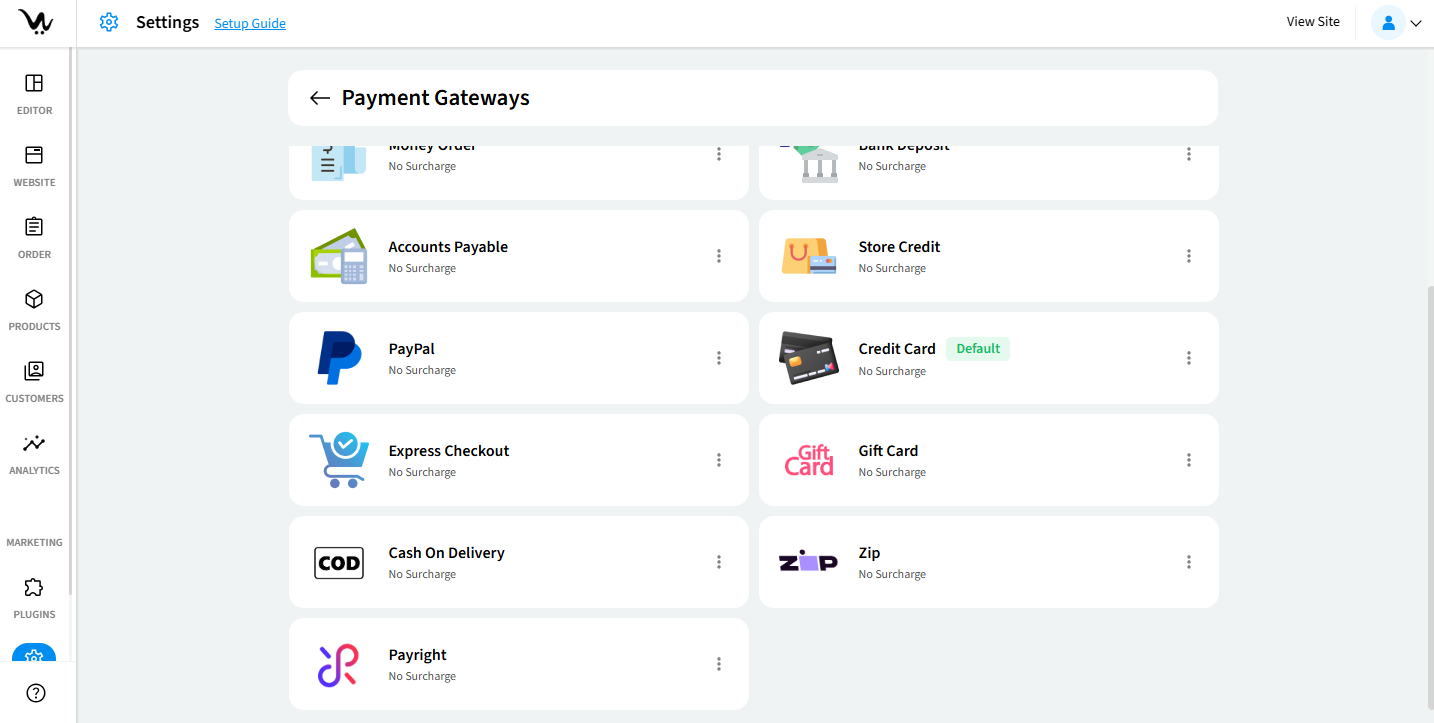
- Select Payment Gateways.
- Add payment option if it is not in the list already.
- Configure Express Checkout and PayPal.
Configure PayPal Express Checkout
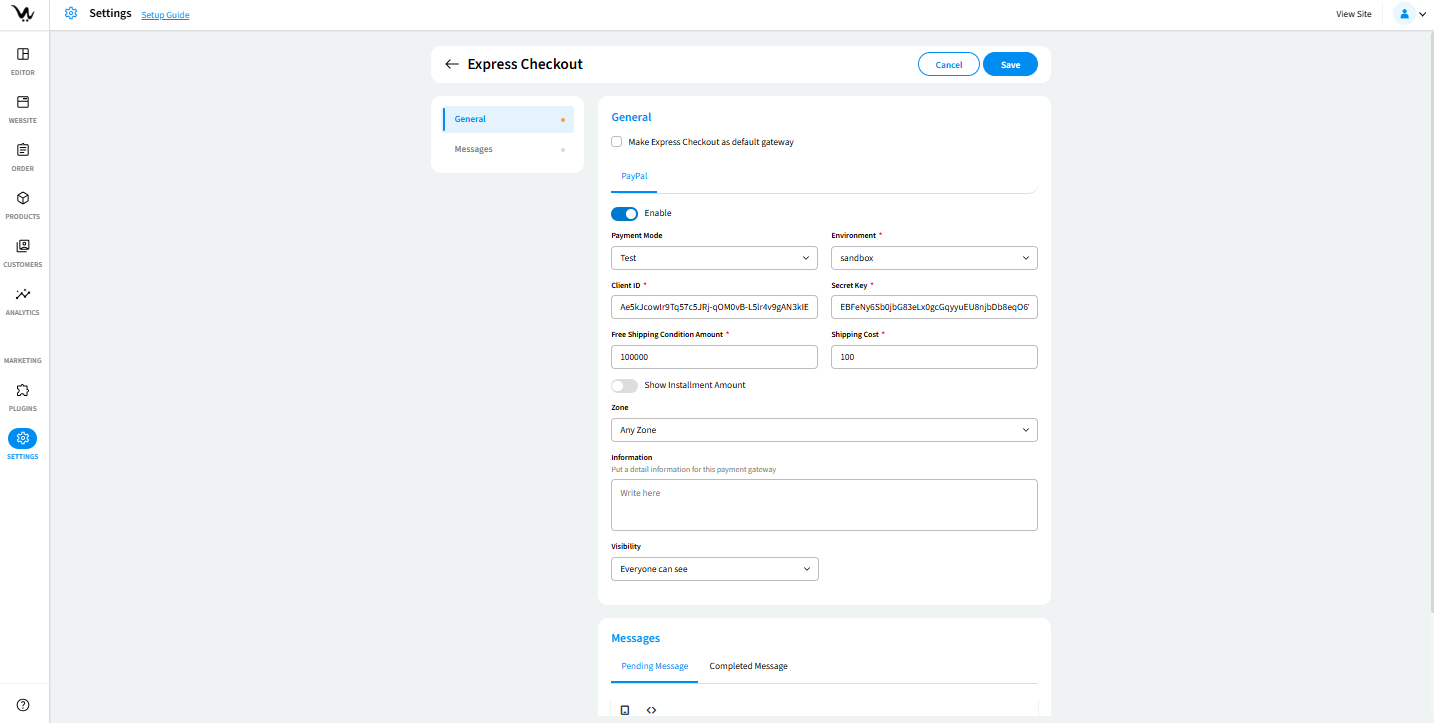
Enable Gateway
- Make default gateway: allows you to set it as the default payment option. All payments will default to the method unless changed.
- Version: Choose version between Standard and Classic.
- Input Client ID and Client Secret.
- Mode: Choose between Test and Live.
- Choose one of the Zones where this gateway will be active.
- Information: add internal or customer-facing notes such as bank account details, payment instructions, or terms.
- Visibility: User is able to select any one among the following:
Everyone can see → Everyone will be able to see credit card processor option in checkout.
Customers → Only registered customer will be able to see credit card processor option in checkout.
Selected Customer → Manage Customer → User is able to select specific customers for visibility. - Choose Surcharge Type (No Surcharge, Flat Surcharge, Percent Surcharge, or Surcharge on Amount Range). Define values accordingly for accurate transaction calculations.
- Pending Payment Message: Customise the message shown while the payment is pending. Example: "Your payment is being processed. Please wait for confirmation."
- Completed Message: Customise the message shown while the payment is completed. Example: "Your payment has been processed successfully."
Troubleshooting Guide
- Confirm the Client ID and Client Secret are correct..
- Check Zone selection and Visibility settings.
- Ensure all changes are saved after configuration.