How to configure Category!
This guide will walk you through the "Category" settings of your store, explaining how to configure and manage categories.
Accessing the Categories Section
- Login to Editor
- Navigate to Product → Manage Categories in the Simple Editor.
Creating a Category
Organising your products into categories not only makes your store more navigable but also enhances the overall shopping experience for your customers. Let’s dive into the simple steps to set up a new category.
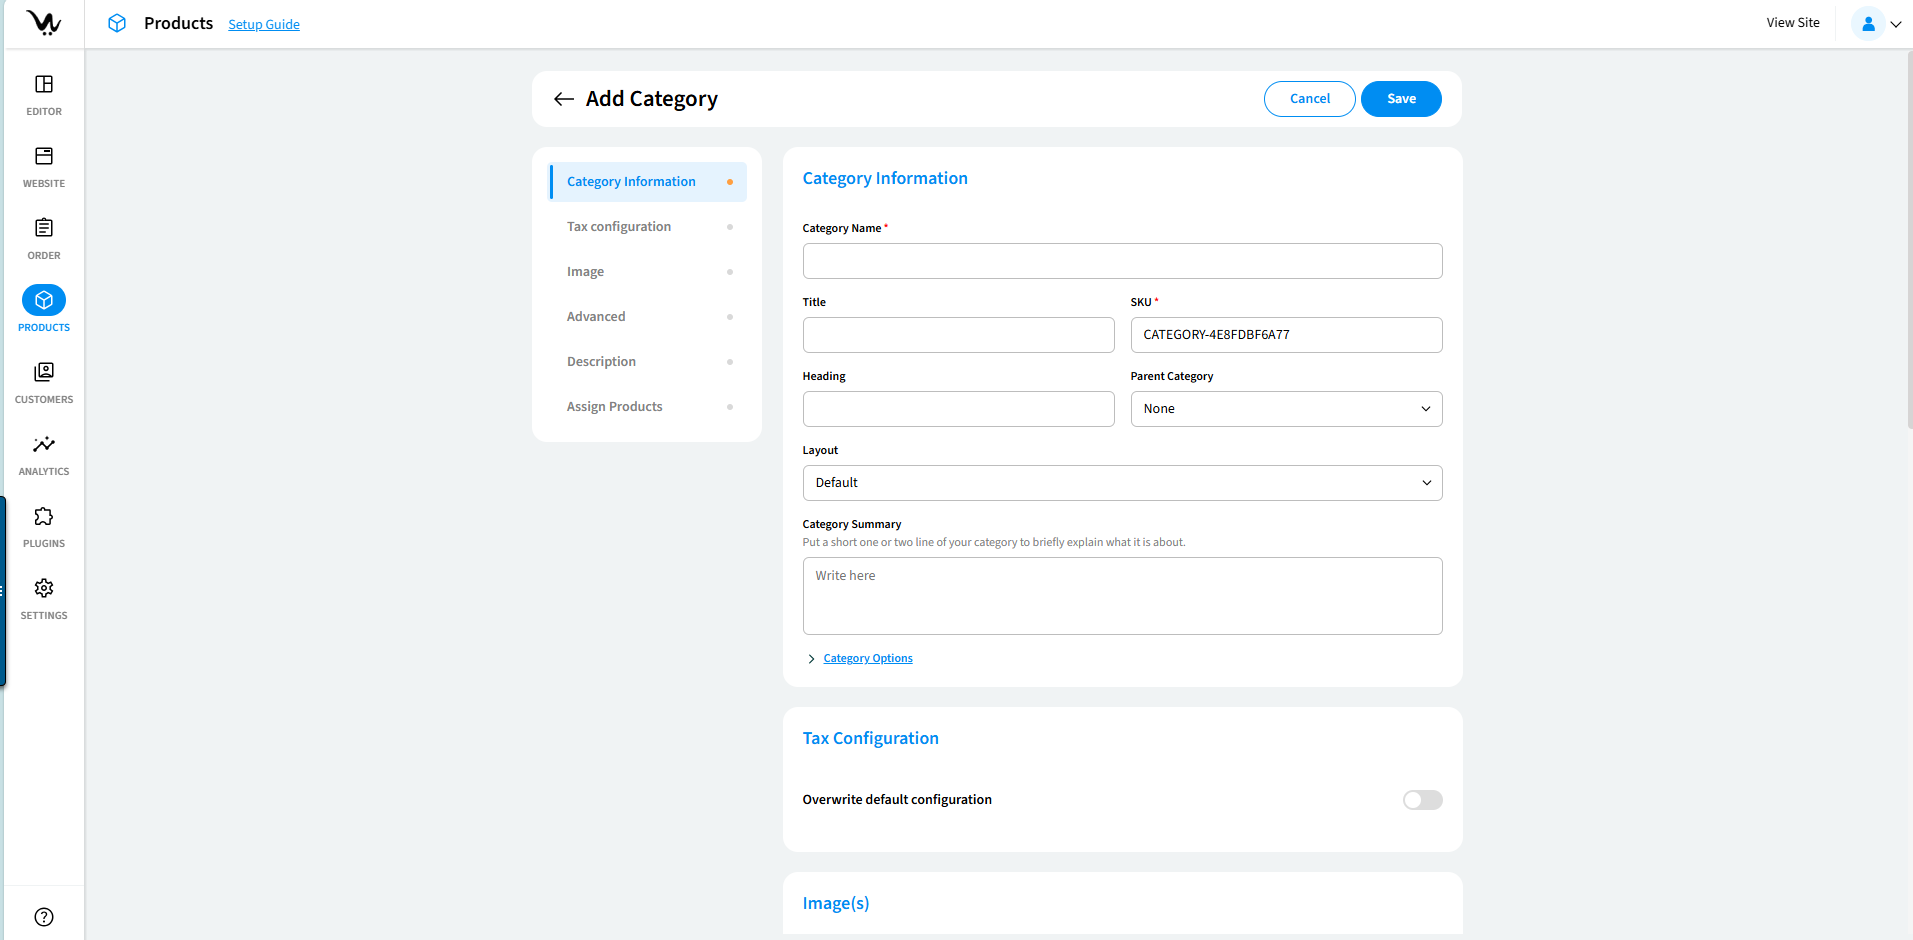
- Add Category:
Click Add Category to open the category creation form. -
Fill in Required Fields:
- General Information: Add the category name, title, and SKU.
- Category Options: Configure visibility and availability settings.
- Tax Configuration: Override default settings if necessary.
- Image: Upload a representative image for the category.
- Description: Add details using the rich text editor.
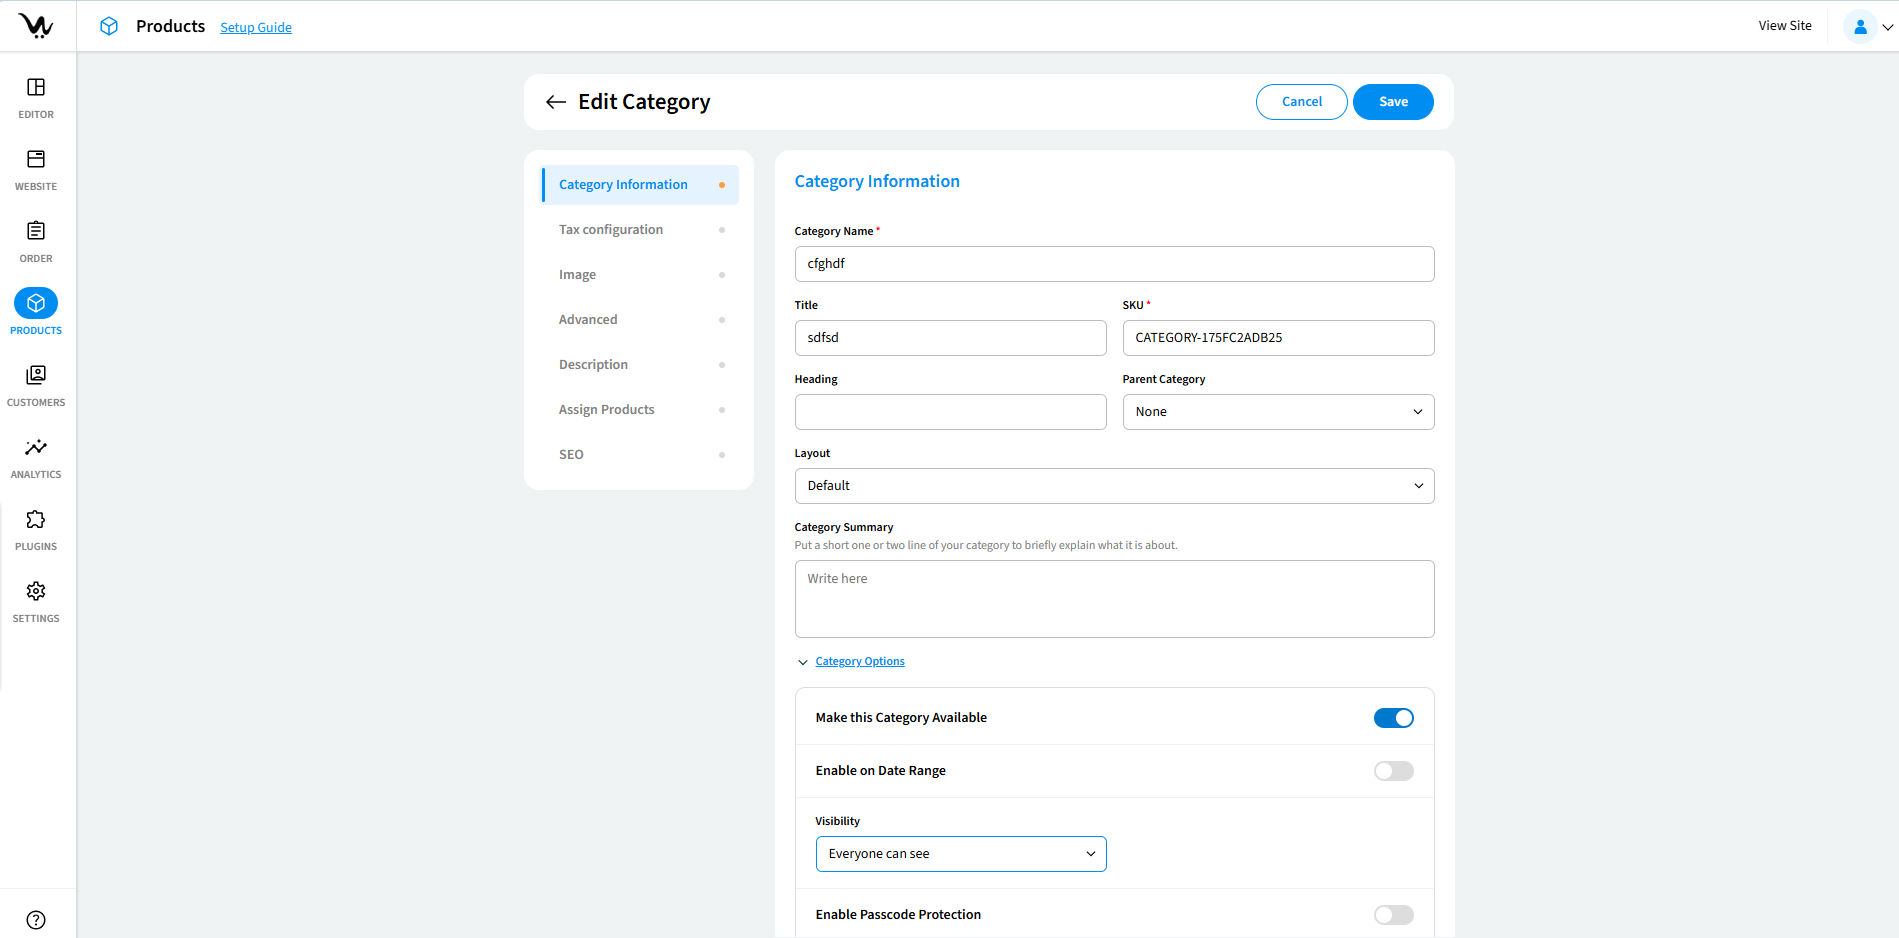
Category Configuration
This section explains the core and additional settings for category pages.
-
Make this Category Available
- Toggle to make the category visible to customers.
- If the category is not available, it won’t appear on the website
- Enable on Date Range: Categories set on date range, appears on the specific date range and disappears too.
-
Parent Category
- If creating a subcategory, select a parent category from the dropdown.
- The default selection is None.
-
Visible to Selected Customer
- You can toggle visibility to only selected customers.
- Use this to limit category access based on customer groups.
Tax Configuration
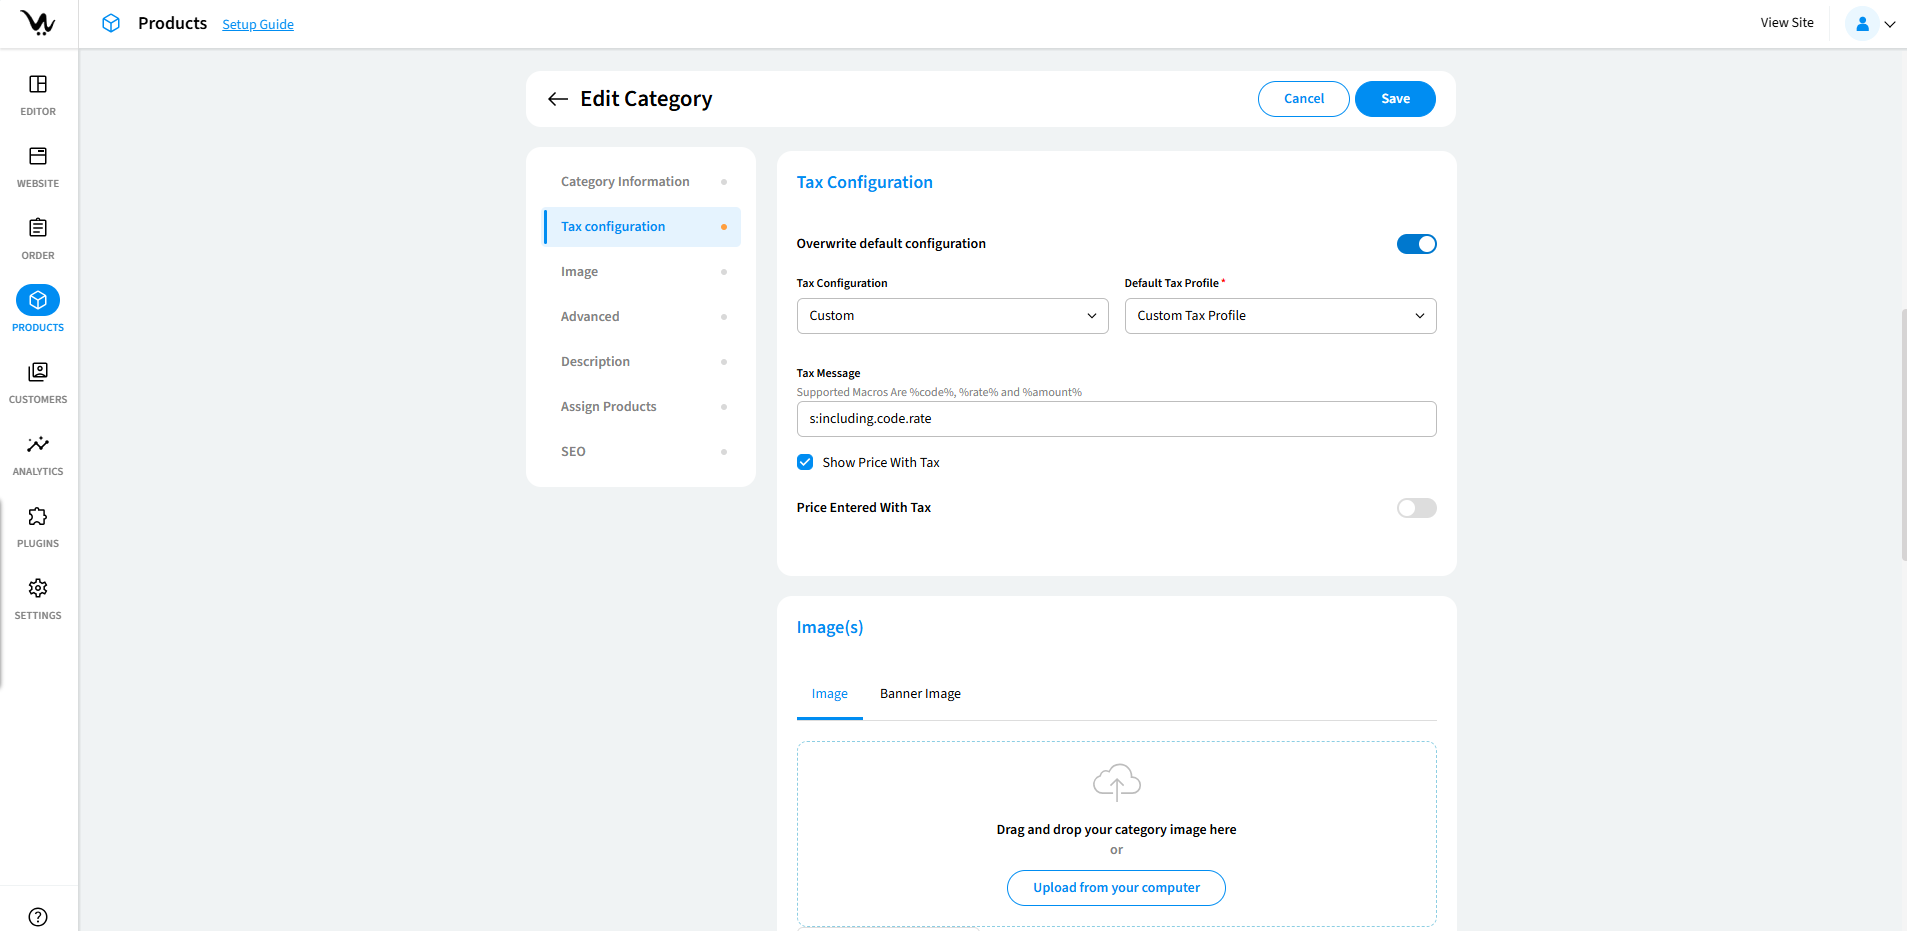
- Override Default Tax Configuration
- If needed, toggle to customize the tax settings for this category.
- Default Tax Profile
- Select the tax profile for the category. If needed, override the default profile.
-
Show Price with Tax
- If enabled, prices displayed for this category will include tax.
-
Custom Tax Message
-
You can add a custom tax message with macros (e.g.,
%code%,%rate%,%amount%) in the Tax Message field.
-
You can add a custom tax message with macros (e.g.,
- Price Entered with Tax: Can modify with Tax default code, Base Price Rounding
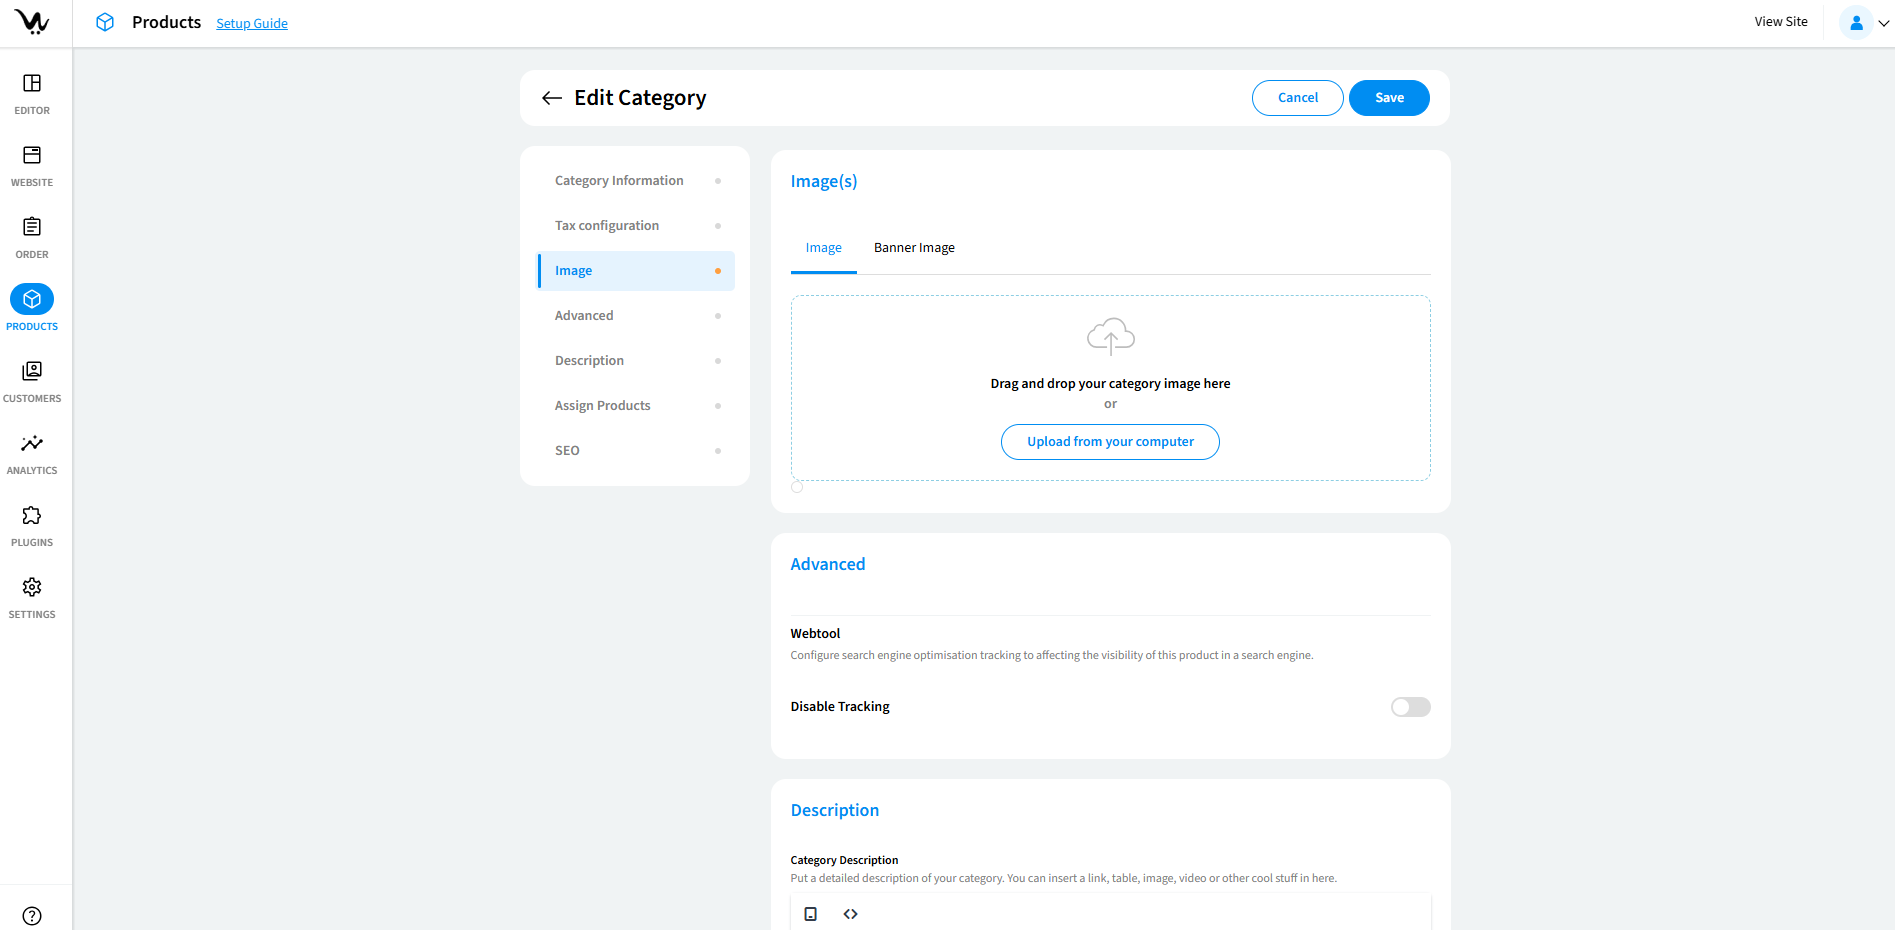
Image Settings
-
Category Image
- Upload a high-quality, relevant image that represents the category.
-
Category Banner Image
- Use large images for banners to ensure clarity when displayed on category pages.
Advanced Settings
-
Display Subcategories
- If the category includes subcategories, this setting will allow for display options for these.
-
SEO Settings
- Manage SEO settings for the category. Ensure the category’s SEO title and meta description are relevant for search engine optimization.
Descriptions

-
Category Description
- Use the Text Editor in the Description section to format and insert text, images, tables, or videos.
-
Character Limit
- The description has a limit of 1000 characters.
-
Preview Word and Character Count
- A live counter shows the word and character counts in the editor.
Assigning Products
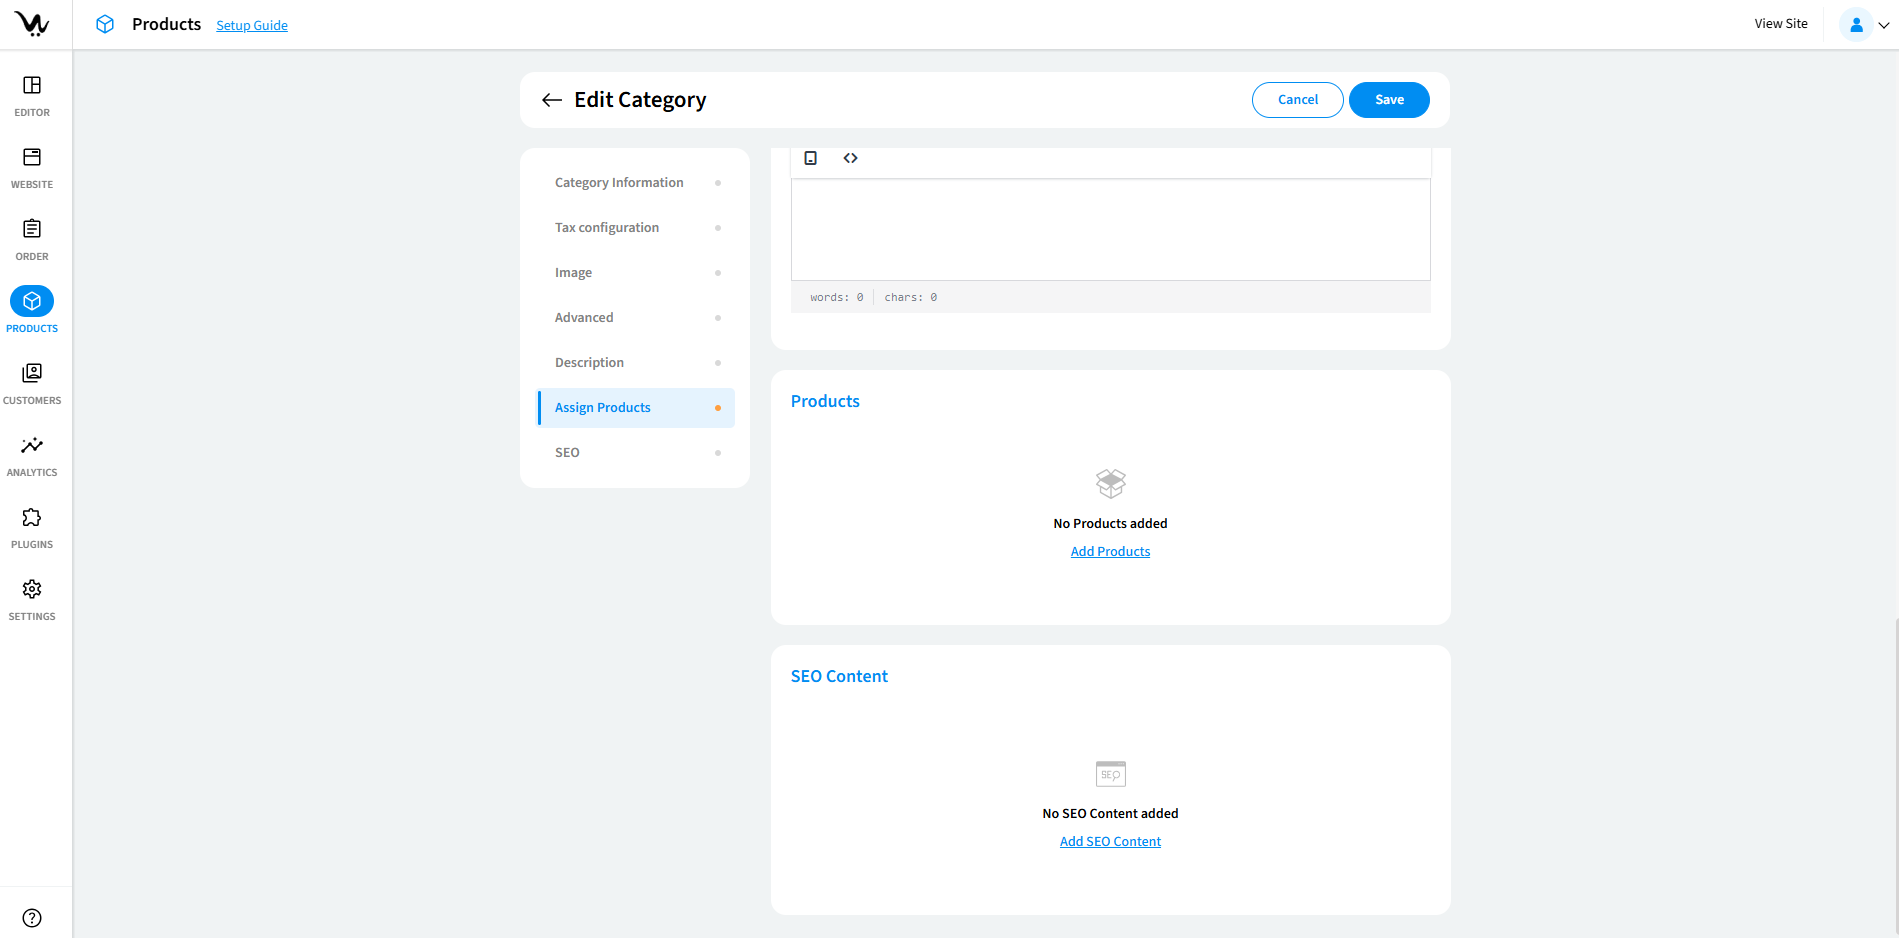
-
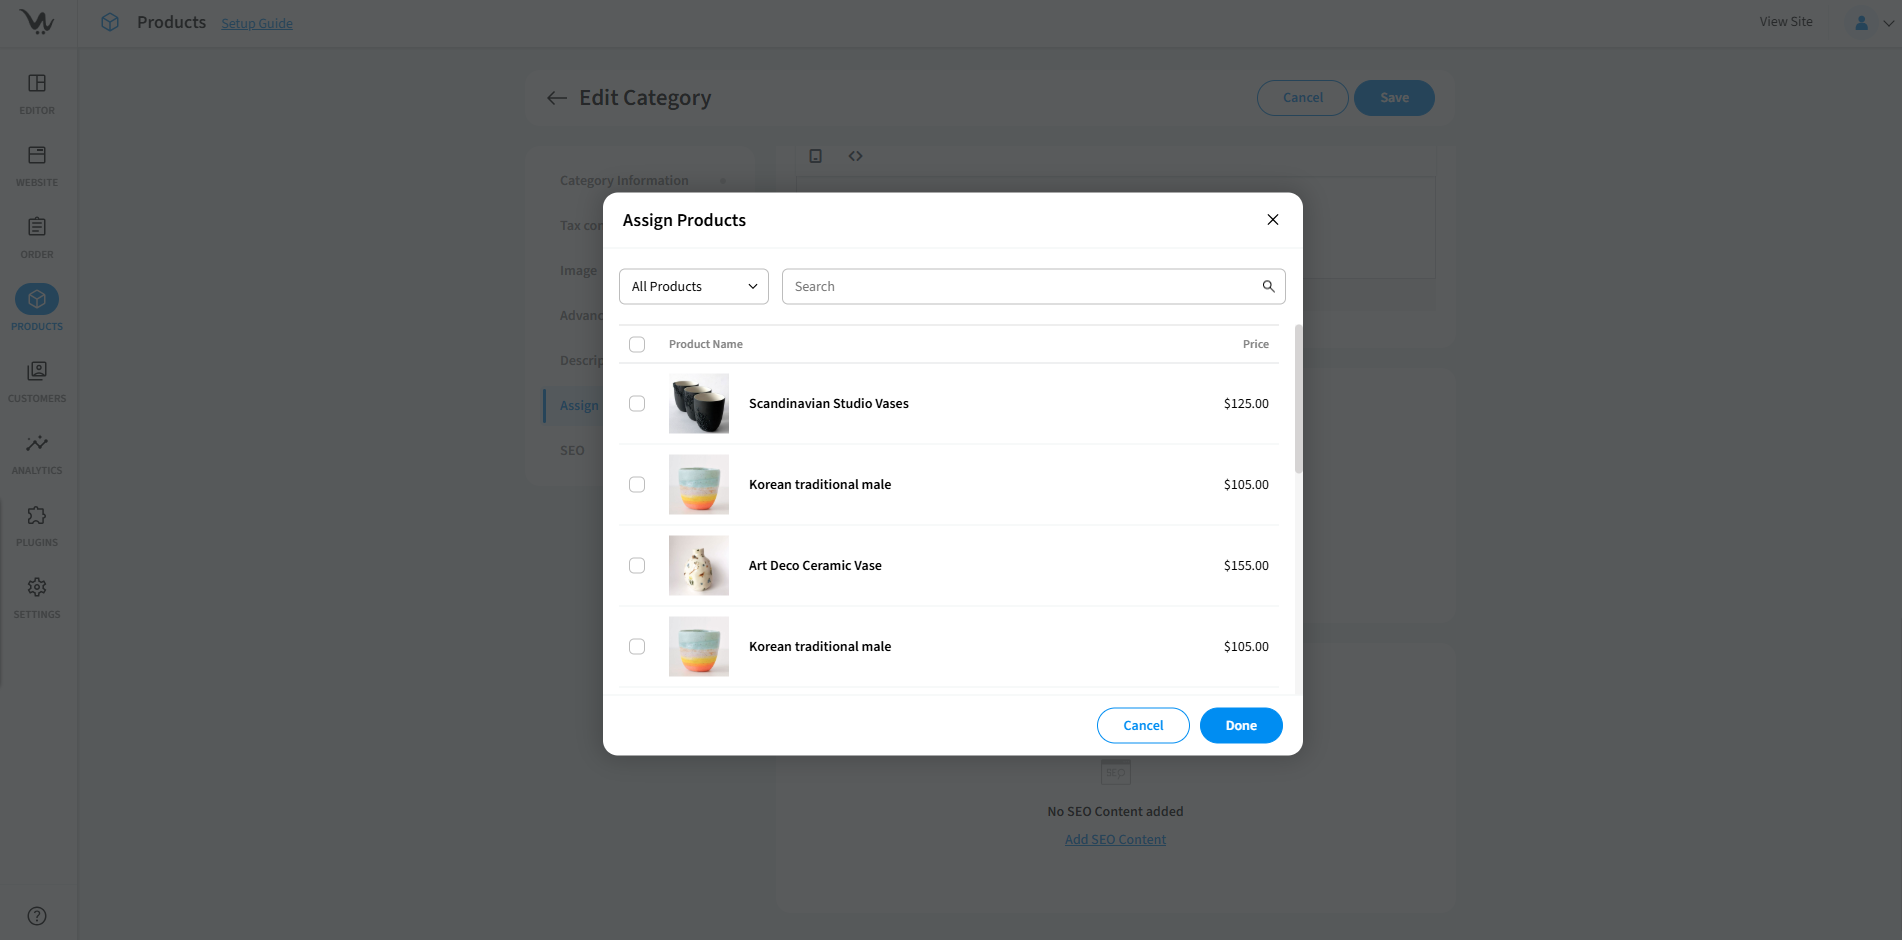
Add Products to a Category
- Click Add Products in the Assign Product section.
- Use filters or search to find products.
- Select products using checkboxes and click Done to assign them.
-
Remove Products from a Category
- Navigate to the category and manage the assigned products under the Assign Product section.
-
No Products Assigned
- If no products are assigned to a category, it will be created, but empty.
SEO Settings
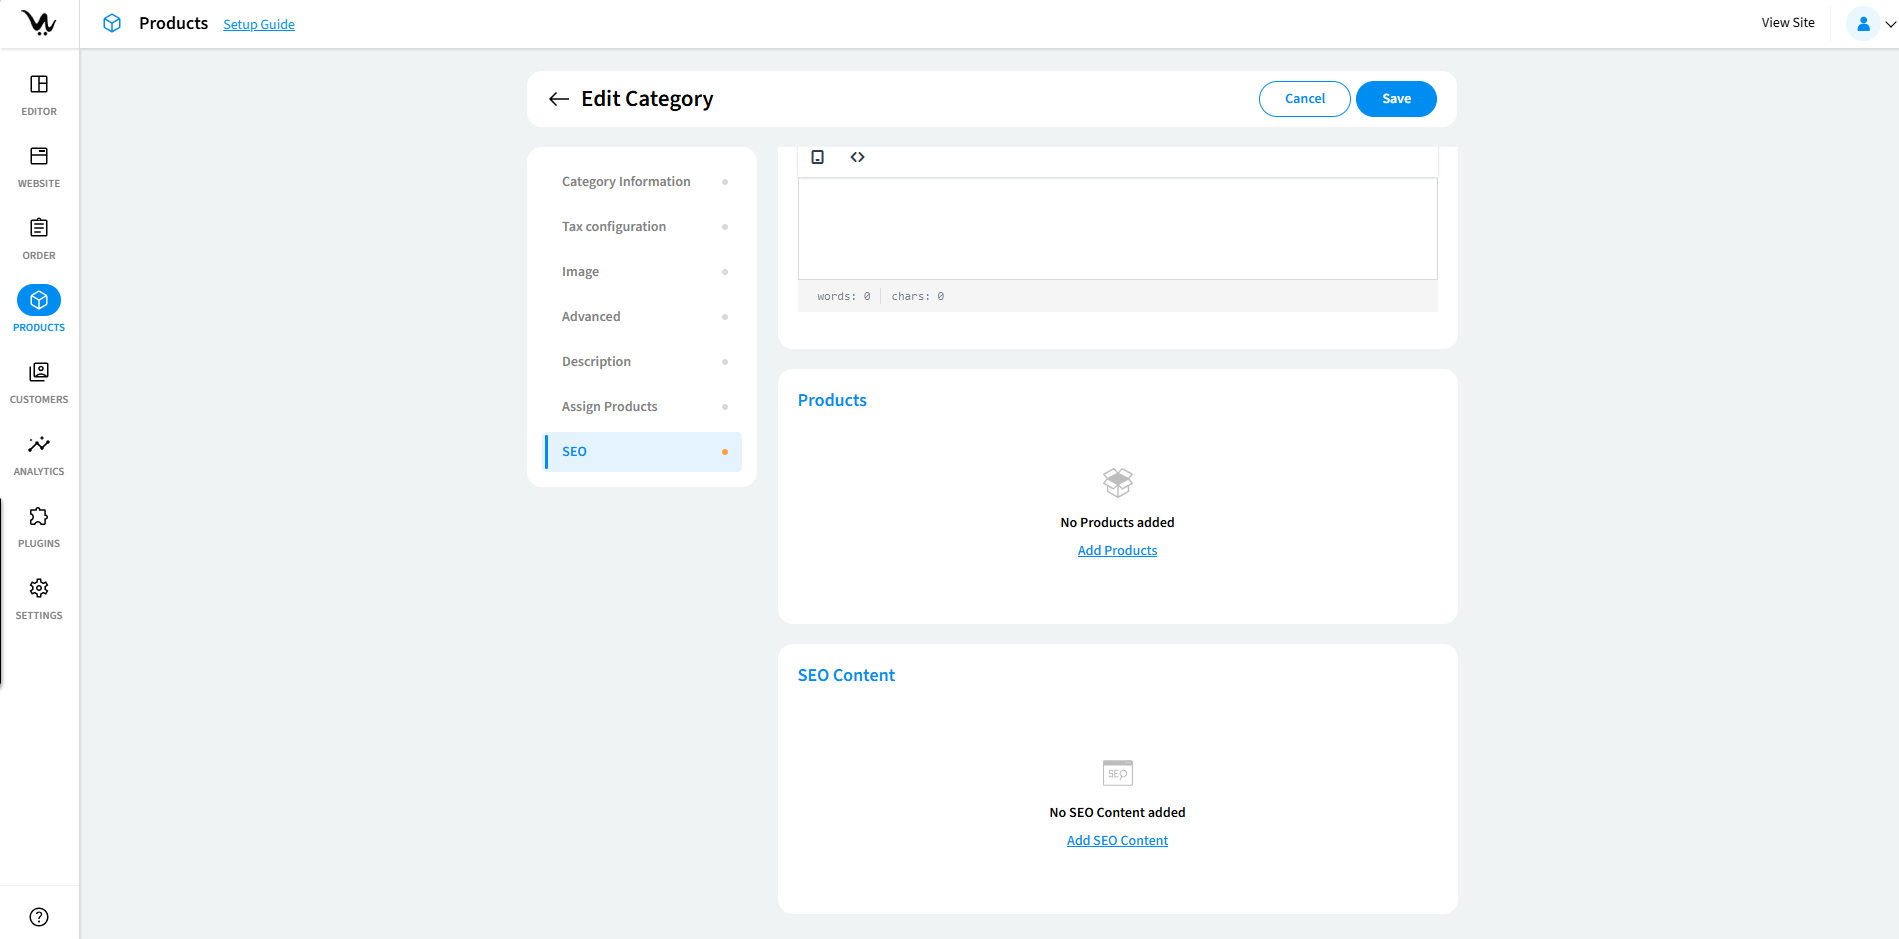

-
SEO Title
- Customize the SEO title for better ranking on search engines.
-
SEO Meta Description
- Add a meta description that will be displayed in search engine results.
-
Custom URL
- Set a custom URL for the category to optimize search engine visibility.
-
Canonical URL
- Set a canonical URL to prevent duplicate content issues.
Troubleshooting Your Category Settings
-
Image Upload Issues
- Ensure the image format is JPEG or PNG.
- Check if the file size exceeds the allowed limit.
-
Category Not Appearing After Creation
- Verify the Make this Category Available toggle is turned on.
- Ensure visibility settings are not restricting access to certain users.
-
Duplicate SKU Error
- SKUs must be unique.
- Update the SKU field with a non-duplicate value and save again.
Best Practices
-
Use Unique SKUs
- Avoid SKU duplication to ensure error-free category management.
-
Optimize Descriptions
- Use clear, concise language to describe your categories.
-
Configure Tax Settings Properly
- Ensure tax profiles and codes are accurate for the category.
-
Leverage Visibility Options
- Restrict categories to targeted audiences when needed.