Manage Your Orders
Efficient order management is crucial for a smooth-running online store. In this guide, we’ll explore how to navigate and handle your orders effectively. From tracking the status of an order to updating shipment and payment or managing cancellations, we’ve got you covered.
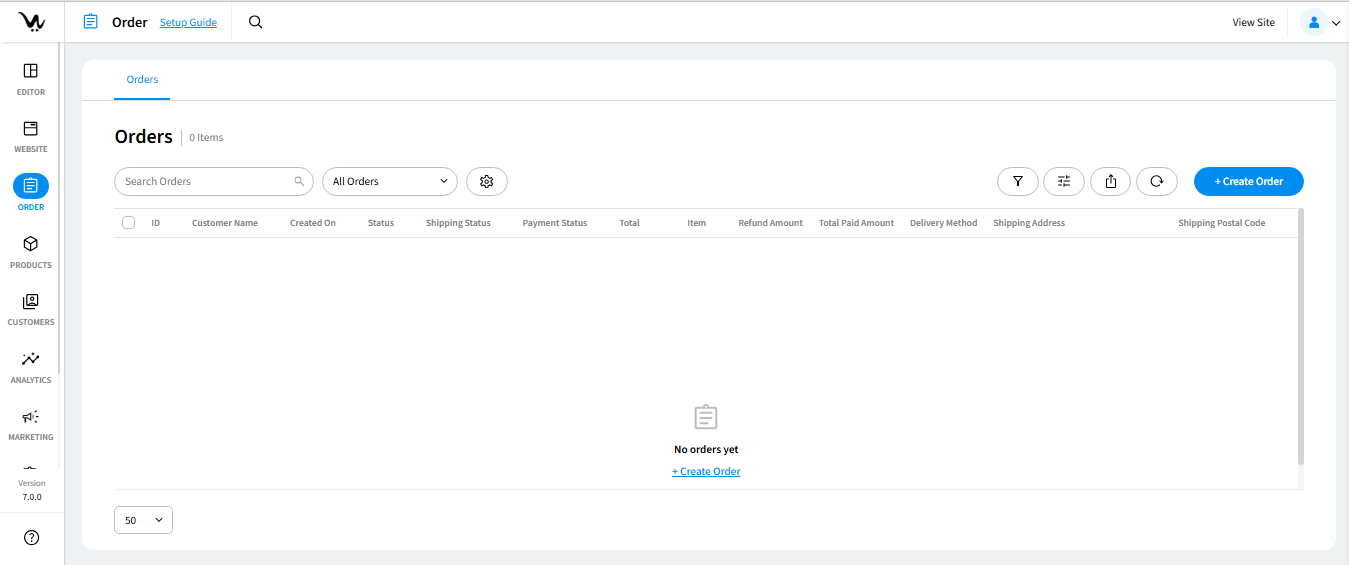
Order List
Entering the Orders section, you’ll find the order list, displaying default information like Order ID, Customer Name, Order Date, Order Status, Shipment Status, Payment Status, and Order Total.
Here’s what you can do:
- Quickly spot Order ID, Customer Name, Order Date, Status, Shipment, Payment, and Total.
- Easily search any order and filter by status.
- Check the total number of orders at the top.
- Click on the “Order Details“ anchor text to see the order details.
Advanced Search
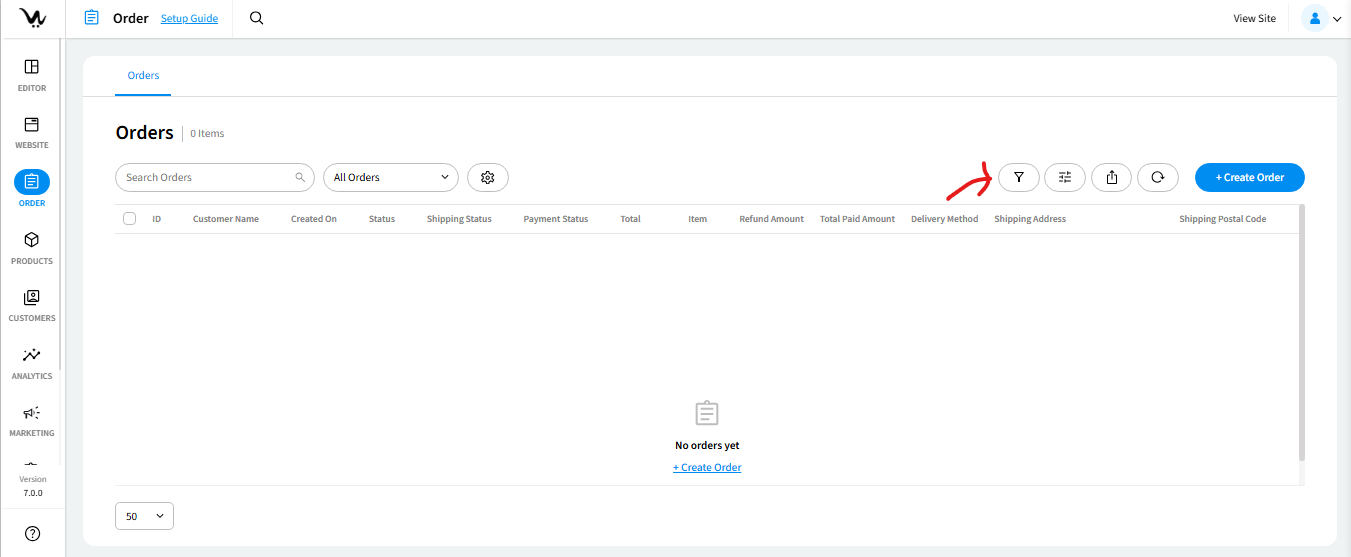
- Click on the “Funnel” icon.
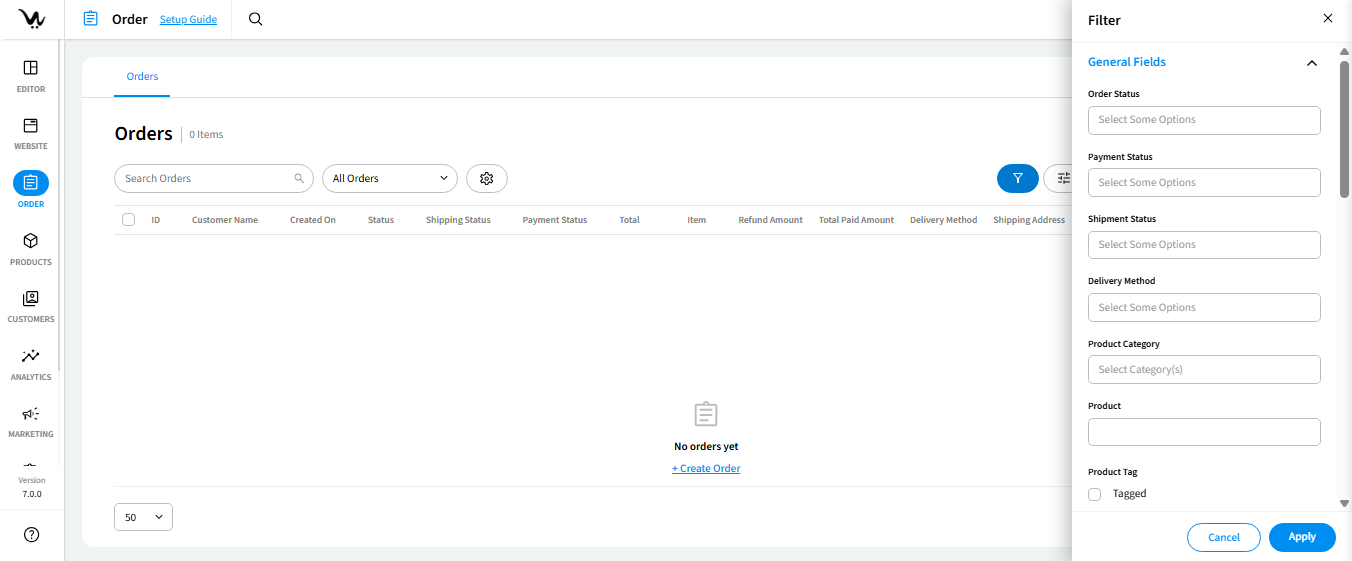
- A side panel opens with various search options.
- Configure your search using these criteria:
- Customer Name: input the customer’s name
- Product Name: input the product name
- Order ID: input the order ID
- Product SKU: input the product SKU
- Category: choose from the available categories, with all categories selected by default
- Company Name: input the company name
- Created Between: select date ranges
- Order Total: set conditions – None, Greater Than, Less Than – and input the order total
- Order Status: choose from options – None, Pending, Cancelled, Completed
- Shipment Status: choose from options – None, Awaiting, Partial, Completed
- Payment Status: choose from options – None, Unpaid, Paid, Partially Paid
- Payment Gateway: choose from options – None and available payment gateways
- Configure as needed and click the search button to get your desired results.
Customize Columns
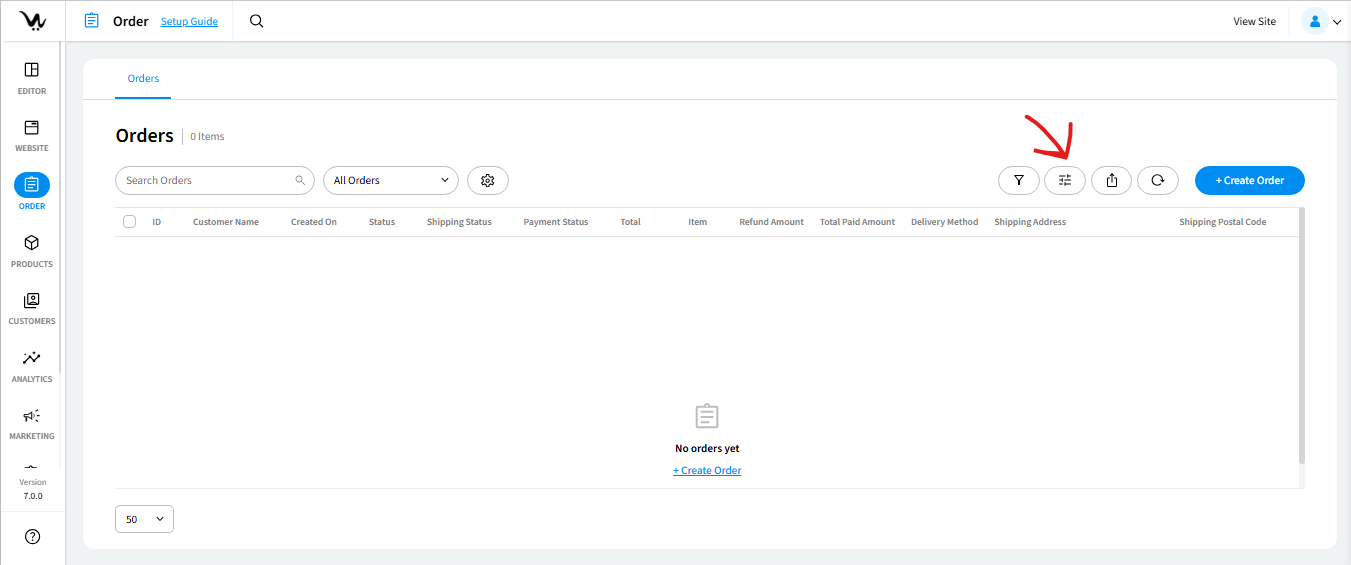
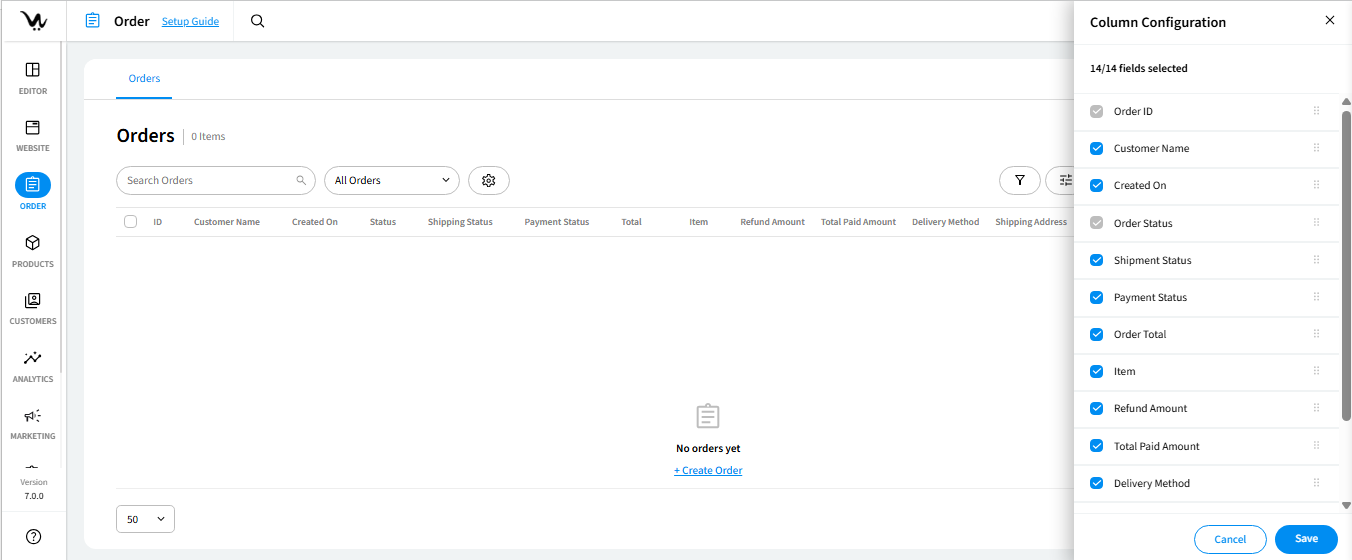
- Click on the “Tune” icon.
- A side panel opens up.
- Here, select or deselect columns to increase or decrease their number.
- Move columns around as you prefer.
- Once satisfied, click on “Save” to lock in your configuration
Export Order
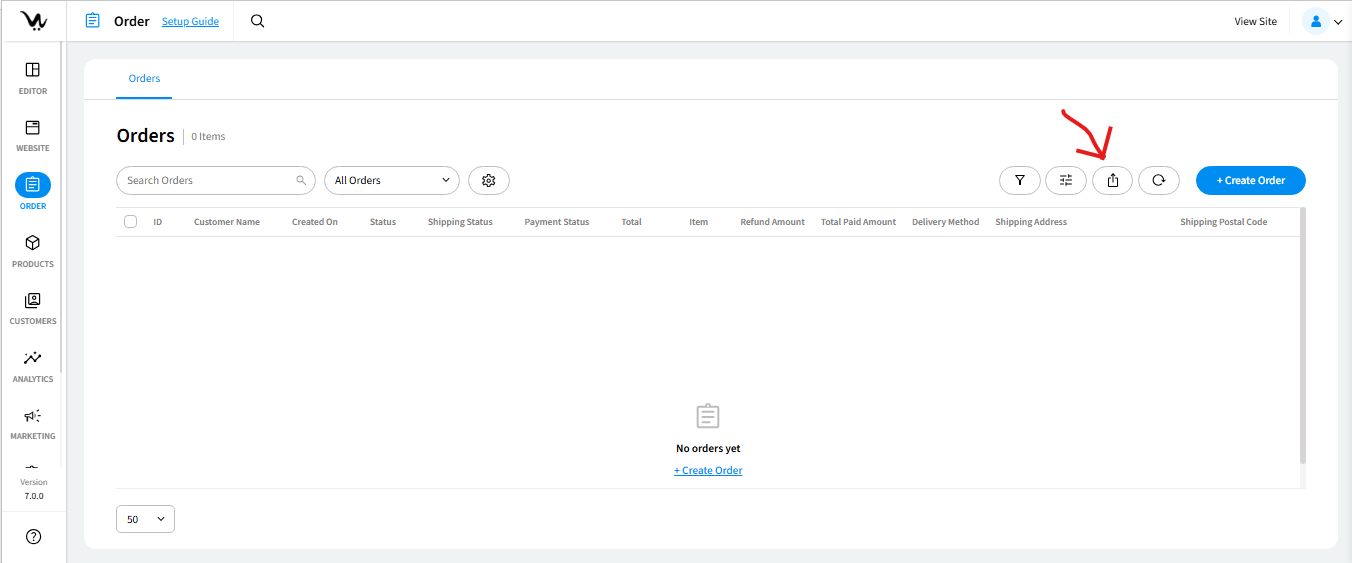
- Click on the Kebab menu at the top of the order table.
- Find “Export Order” and “Advanced Export.”
- Select “Export Order” to export your order list as a CSV file.
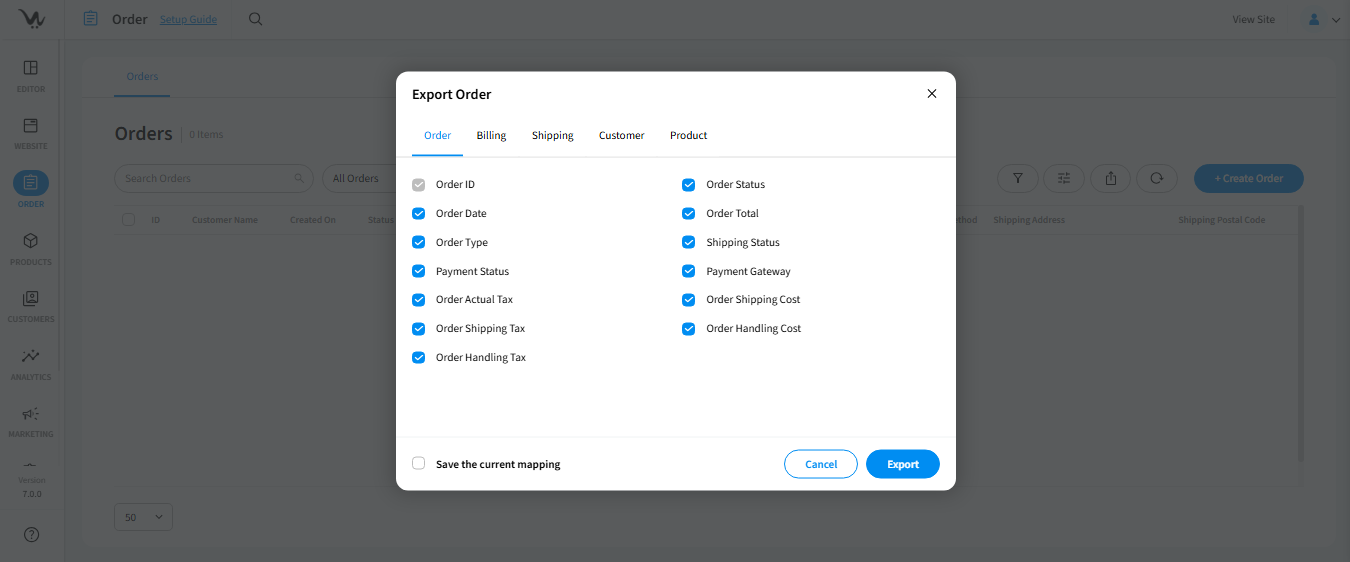
- Opt for “Advanced Export” to open a pop-up.
- In the pop-up, choose properties from the Order, Billing, Shipping, Customer, Product, and Order Custom Fields.
- Choose between exporting all properties or only selected ones.
- Save your mapping by checking “Save the current mapping.”
- Once configured, click “Export.”
Manage Shipment
- Click on the Kebab menu icon beside an order.
- From the Kebab menu, select “Manage Shipment.”
- You’ll be taken to the “Shipment Information” page, displaying the list of shipments.
- In the top Kebab menu, find two options: “Add Shipment” and “Send Invoice.”
- Clicking “Send Invoice” sends an invoice to the customer.
- Clicking “Add Shipment” opens a popup where you can set quantities, choose shipping methods, insert tracking information, and select a shipping date.
- When the shipped quantity equals the ordered quantity, the Shipment Status becomes Completed. If some are shipped and some are not, the status is Partial.
- To return to the Order List, click the back arrow at the top.
Manage Payment
- Click on the Kebab menu icon beside an order.
- From the Kebab menu, select “Manage Payment.”
- You’ll be taken to the “Payment Information” page, displaying the list of payments.
- Here, view Order Total, Amount Due, and Amount Received.
- In the top Kebab Menu, find options to send an invoice to the customer.
- Add a payment by selecting “Add Payment”:
- Choose Payment Method
- Pick a Payment Date
- Optionally input Tracking Information and Payer Information
- View Due value
- Input the Amount
- Optionally send an email to the client by checking “Send Payment Email”
- When satisfied, click “ADD”
- Make a payment or a refund by clicking on the kebab menu beside the payment list and choosing the respective option.
- For payments, you’ll have the same options as the “Add Payment” process.
- For refunds, input Refund Amount and Reason. Optionally send an email to the client by checking “Send Refund Email.”
- In the same Kebab menu, find the “View Event Logs” option.